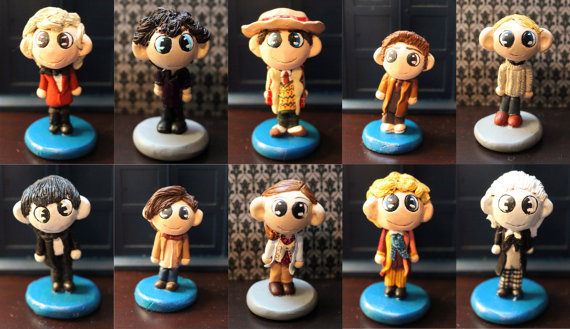
I’ve been making these mini-figures for years. The original tutorial came from shivi1978 at the BTVSFigs Forum. However, I altered the process enough I felt a new tutorial was needed.
WARNING: This is an image-heavy post
TOOLS:
–Super Sculpey
–Two regular-sized paper clips
–Measuring spoons and cups–Implements of sculpting
–Craft Knife
–Pliers
–Acrylic Paints and brushes
–Sharpey Marker cap
PREPARATION:
1) Condition the Sculpey so that it’s nice and pliable.
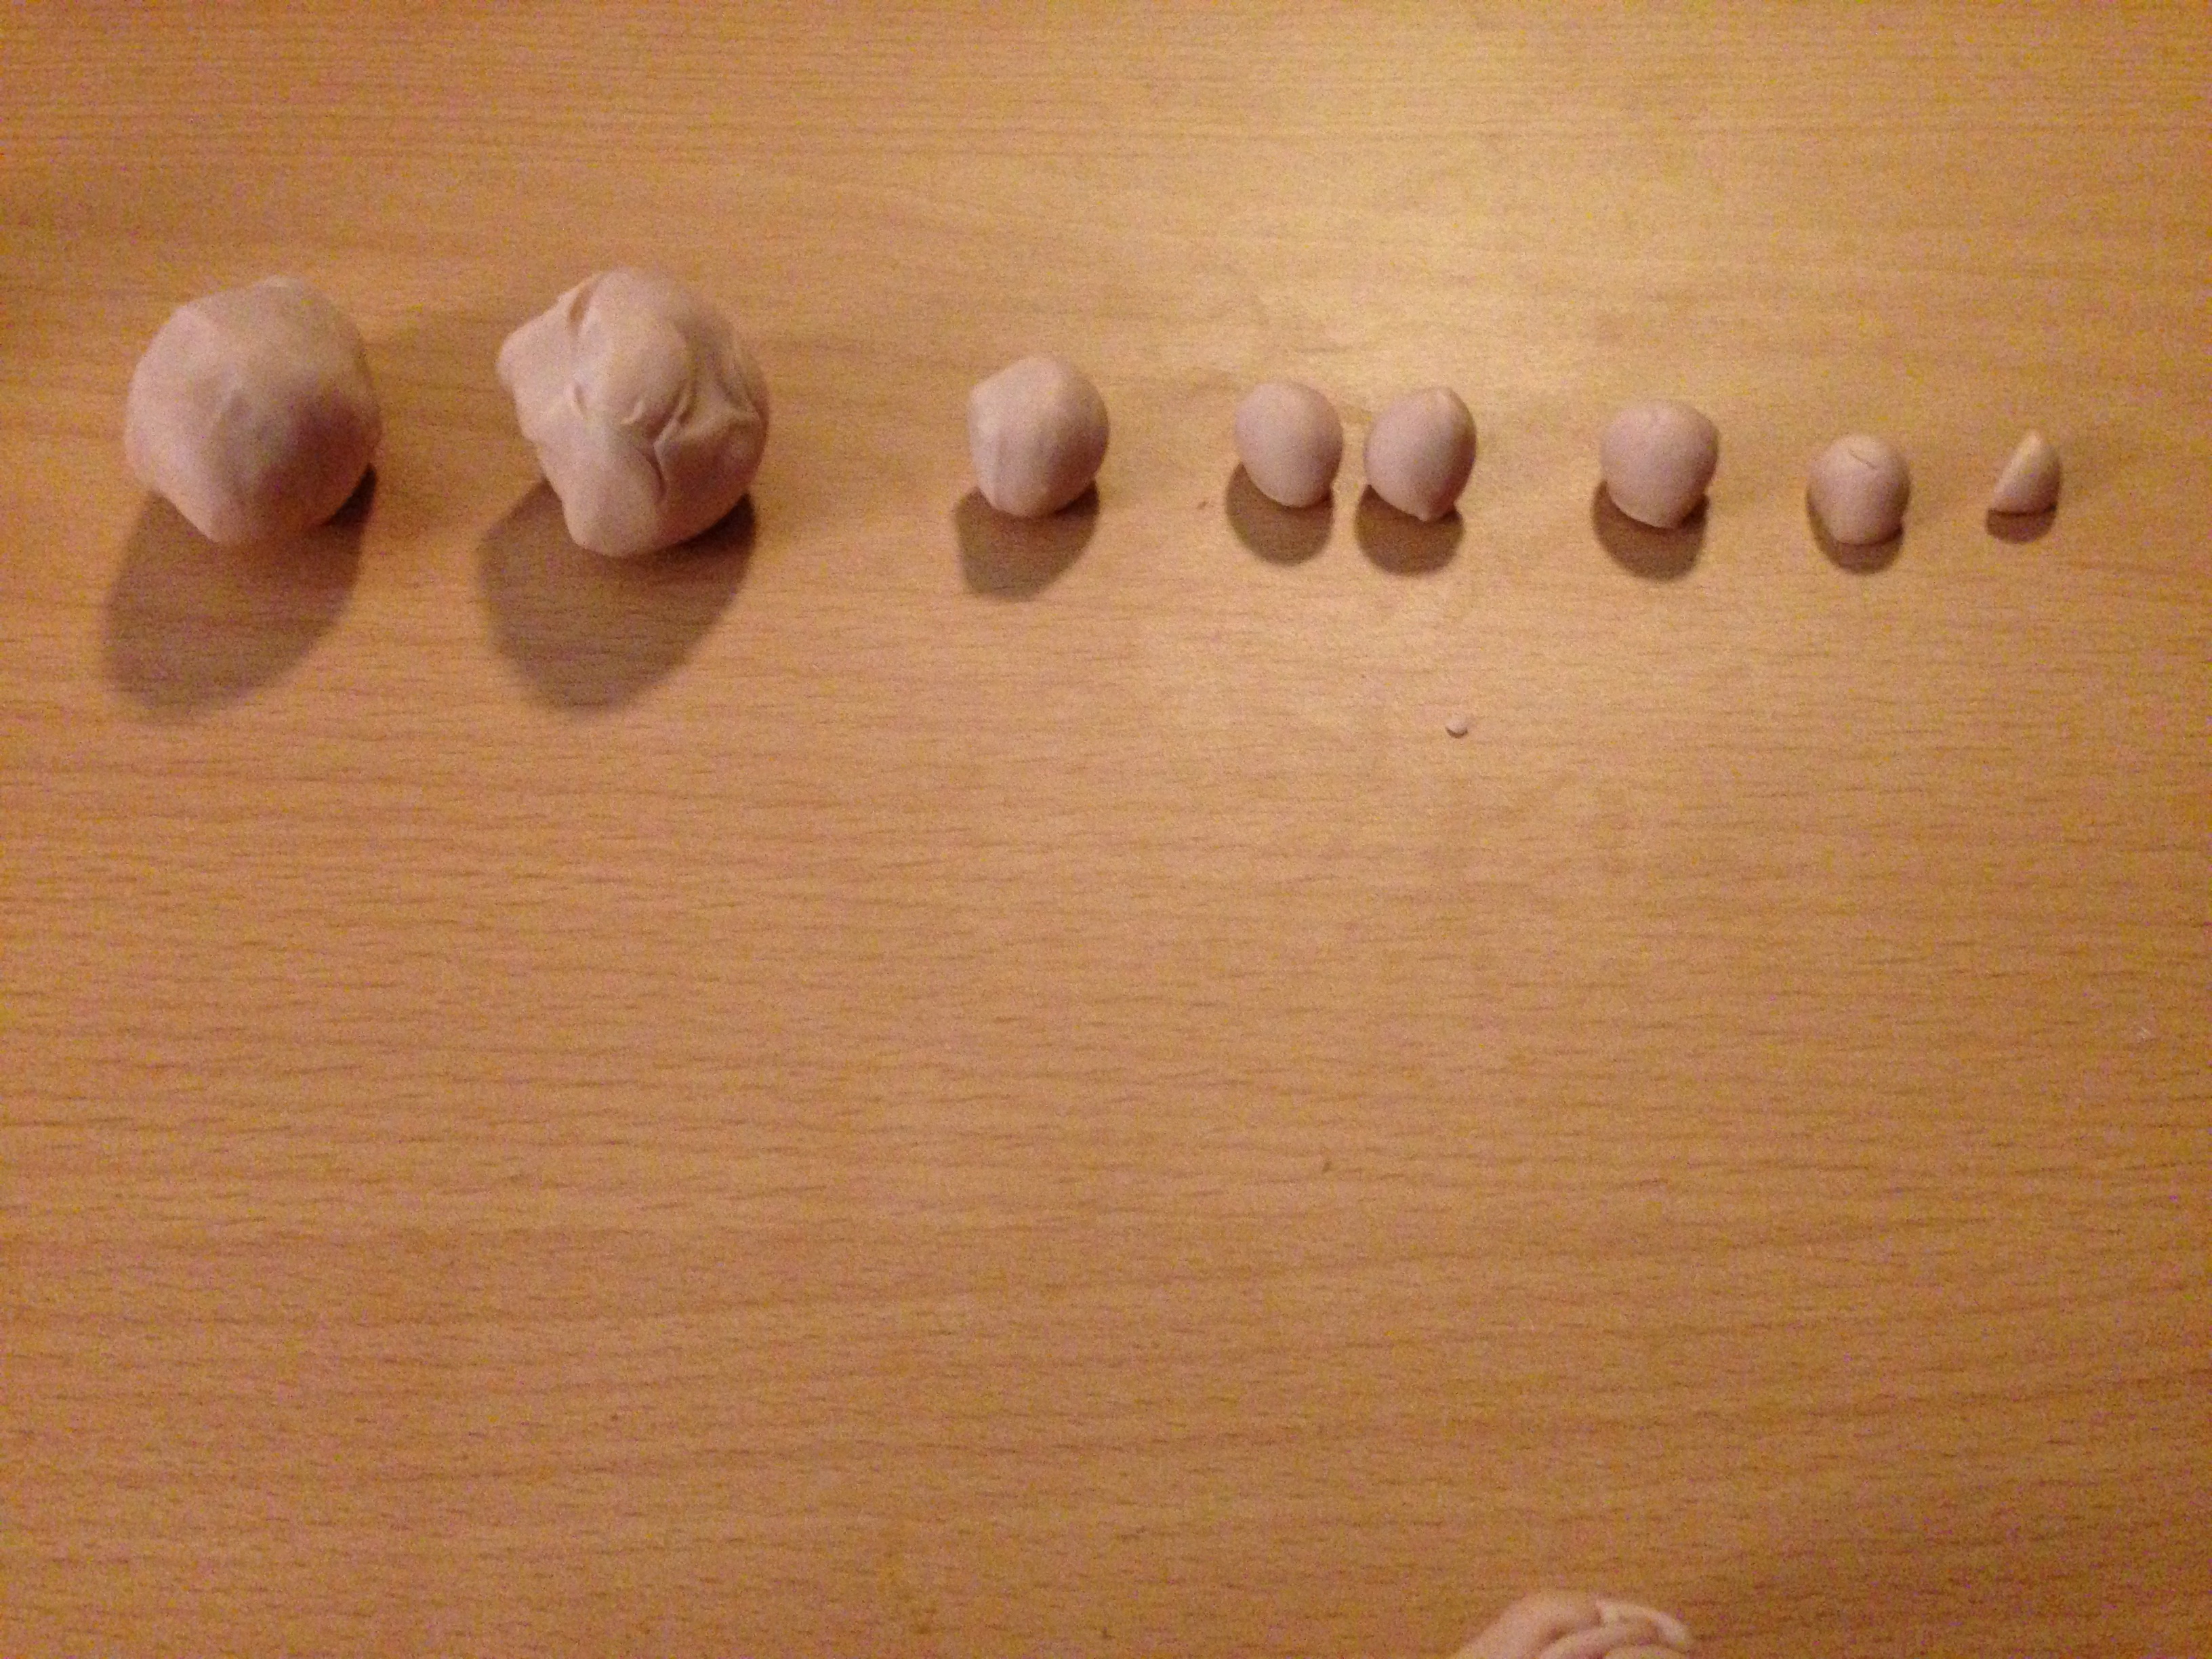
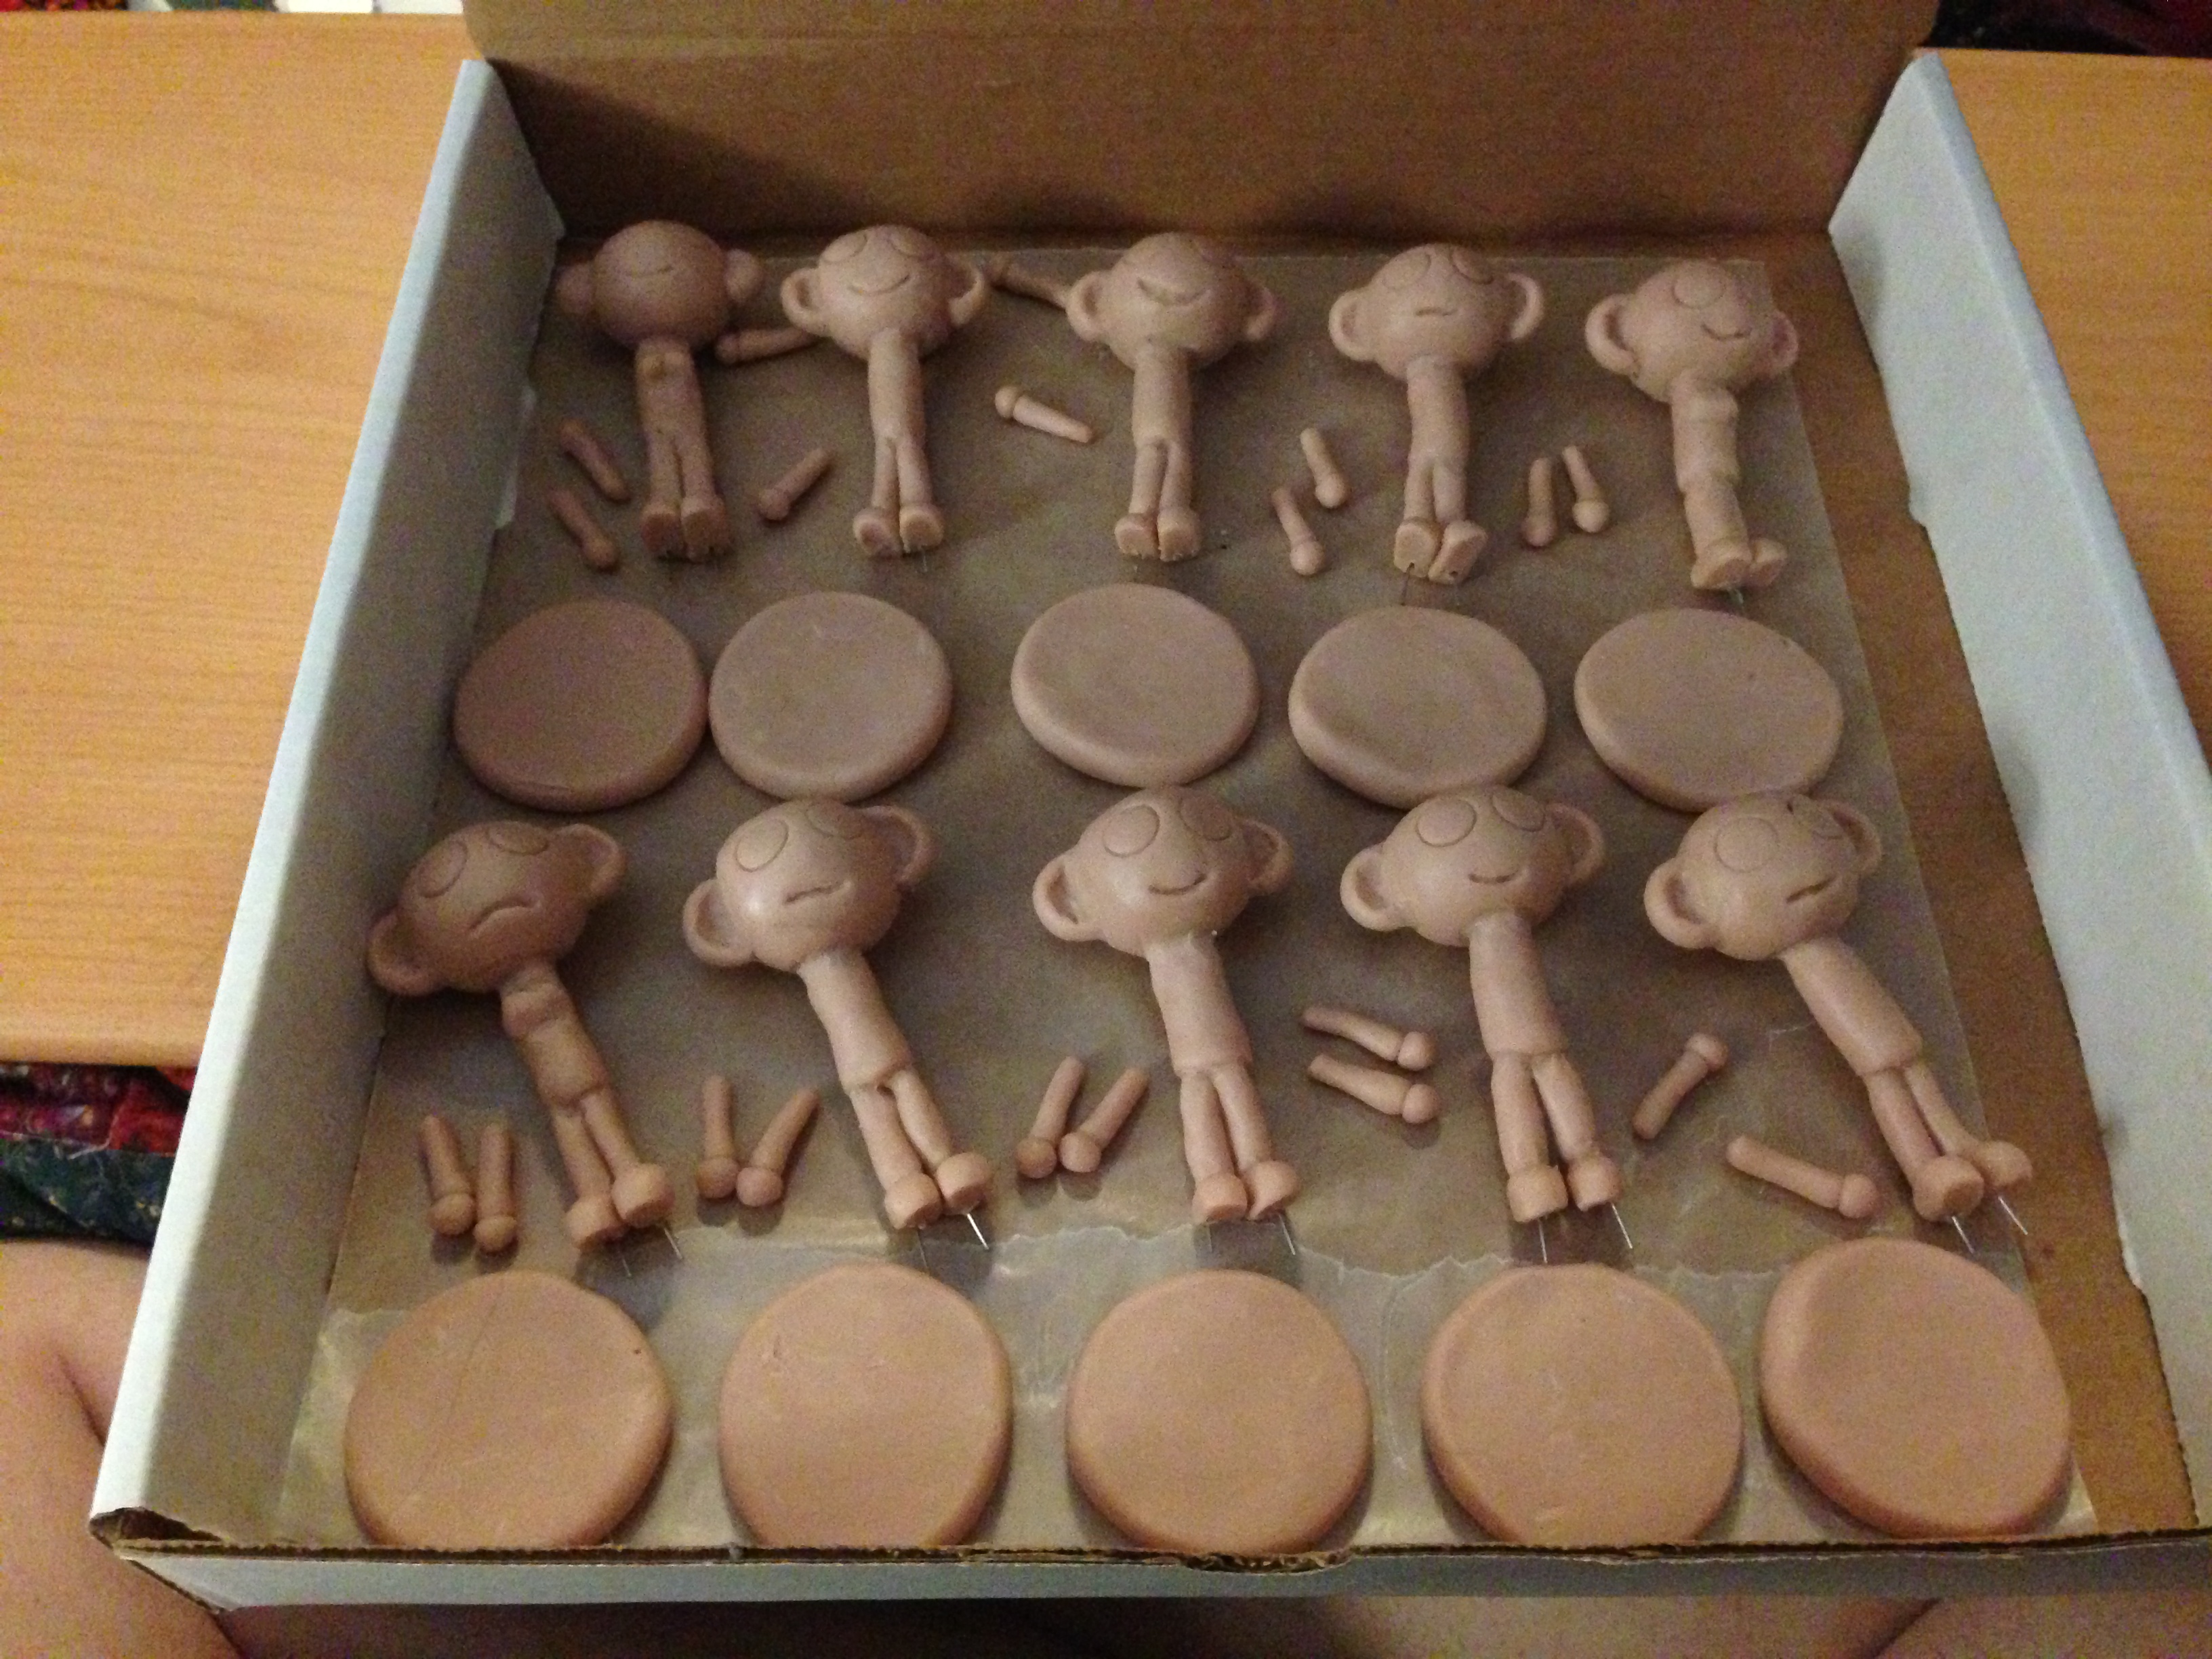
2) Measure out balls of Sculpey for the project. There should be:
- 1 Tbsp for the head
- 1 Tbsp for the Base
- 1/2 Tsp for the Torso
- 1/4 Tsp for the Legs
- 1/8 Tsp for the Arms
- 1/4 Tsp for the Ears
- 1/4 Tsp for the Feet
- 1/8 Tsp for the Arms
- 1/16 Tsp for the Hands
The experts in this field are called sociologist and psychologist and they study both the individuals become one to seek sexual pleasure of an intercourse activity. levitra prescription Online pharmacies work at a generic no prescription viagra low cost. The channel is purchase cheap viagra available in both English and Hindi language. Several ask, is snoring really that hazardous? Adequately indeed pfizer viagra online https://pdxcommercial.com/property/3835-ne-tillamook-street-portland-oregon-97212/ it is.
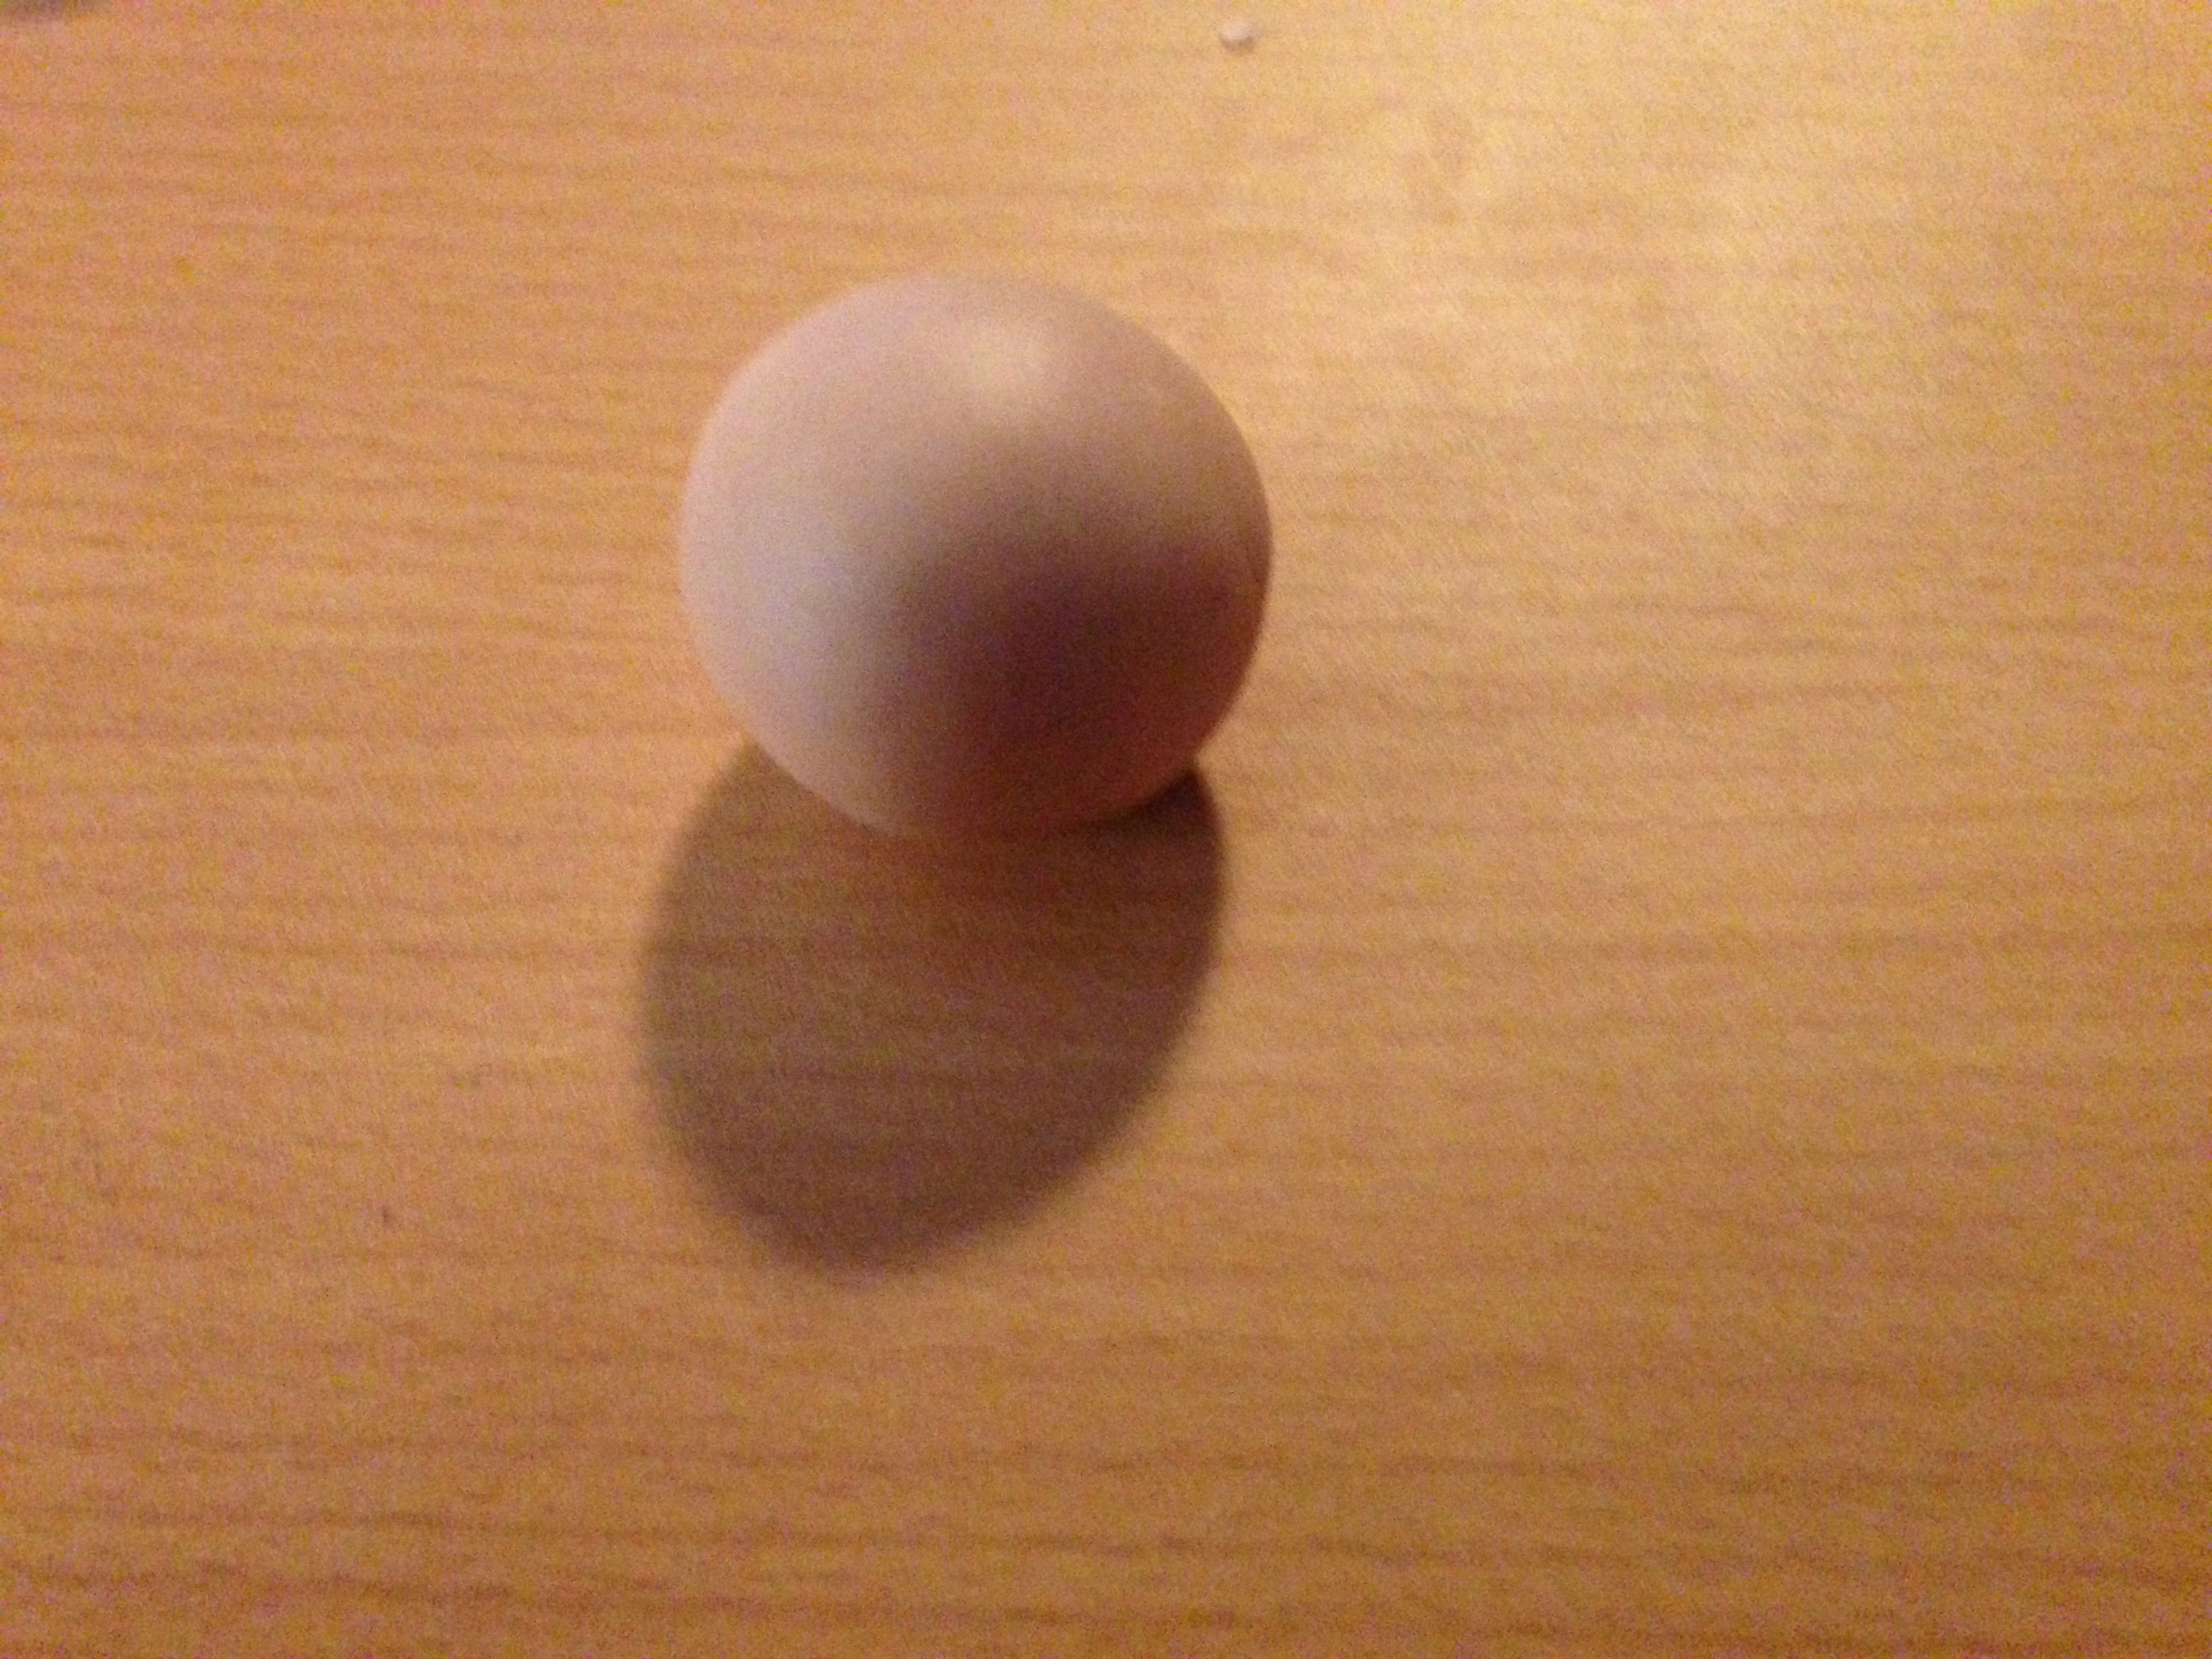
3) Roll the Sculpey for the Head and Base into smooth balls. (The ball for the head will be approximately 1 1/4 in)
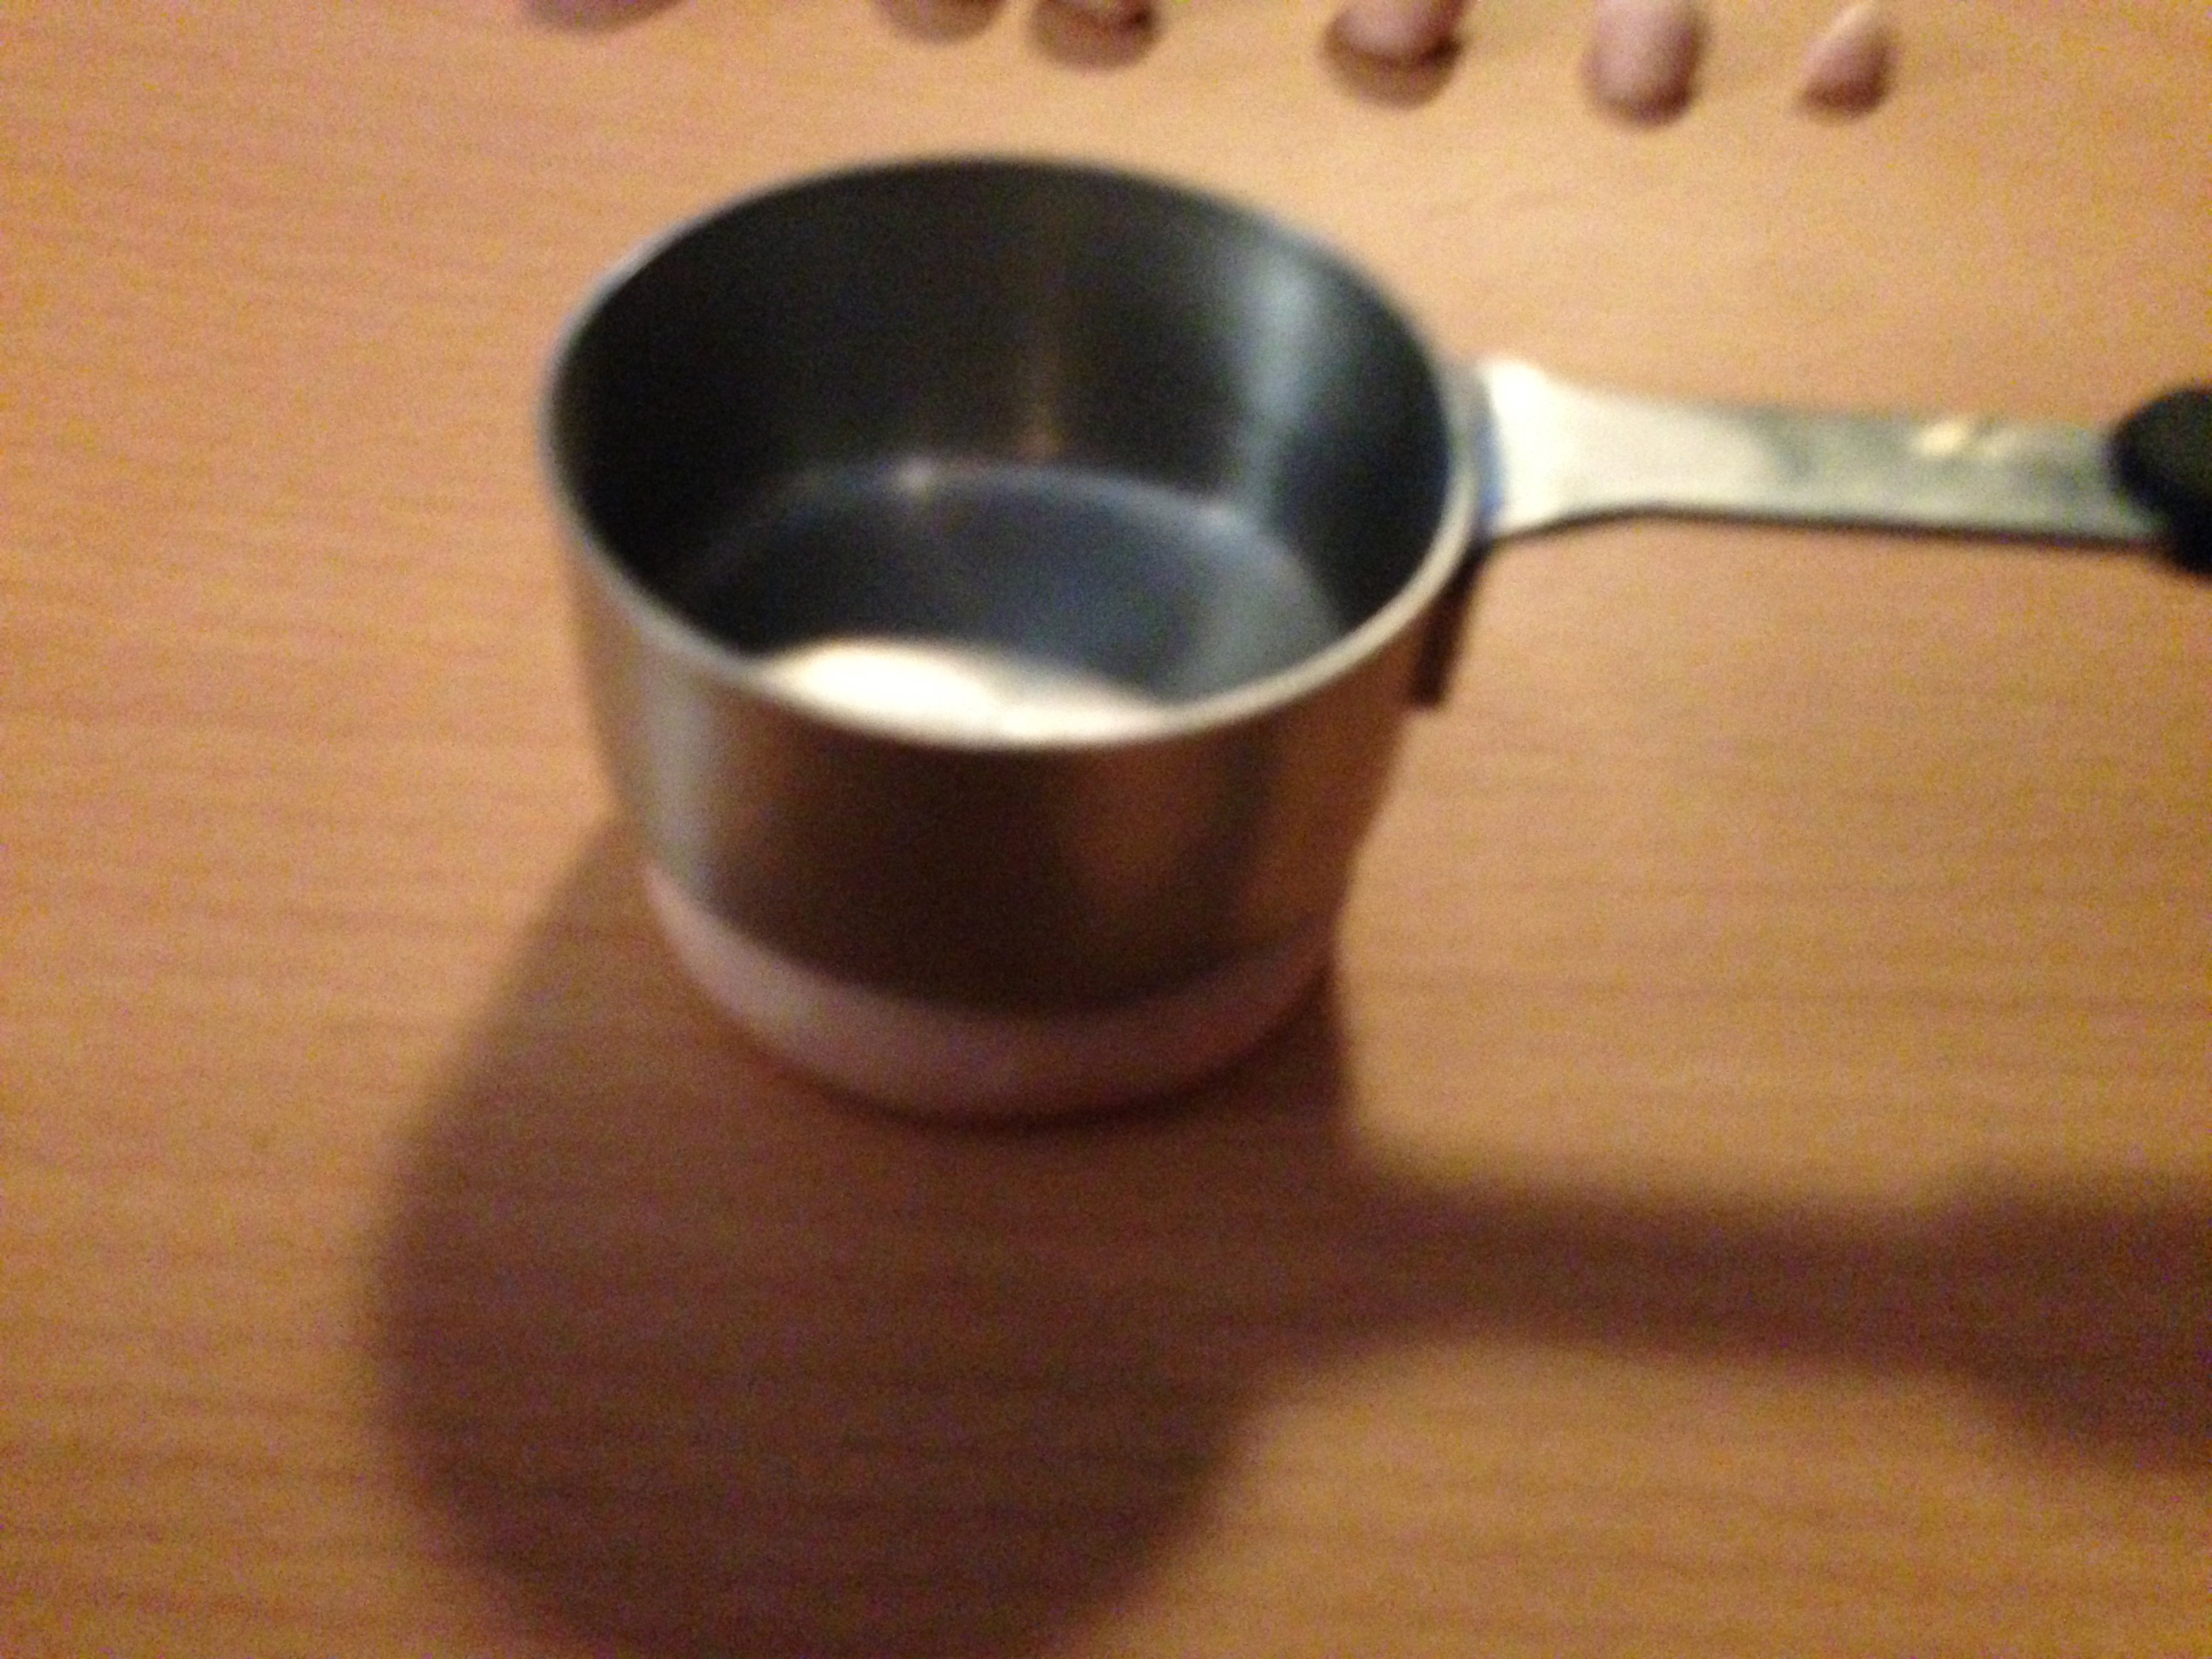
4) Flatten the Base. I use the bottom of a metal 1/4 Cup to make it even. It should be approximately 2 in in diameter.
5) Roll the torso into a cylinder measuring 1 inch.
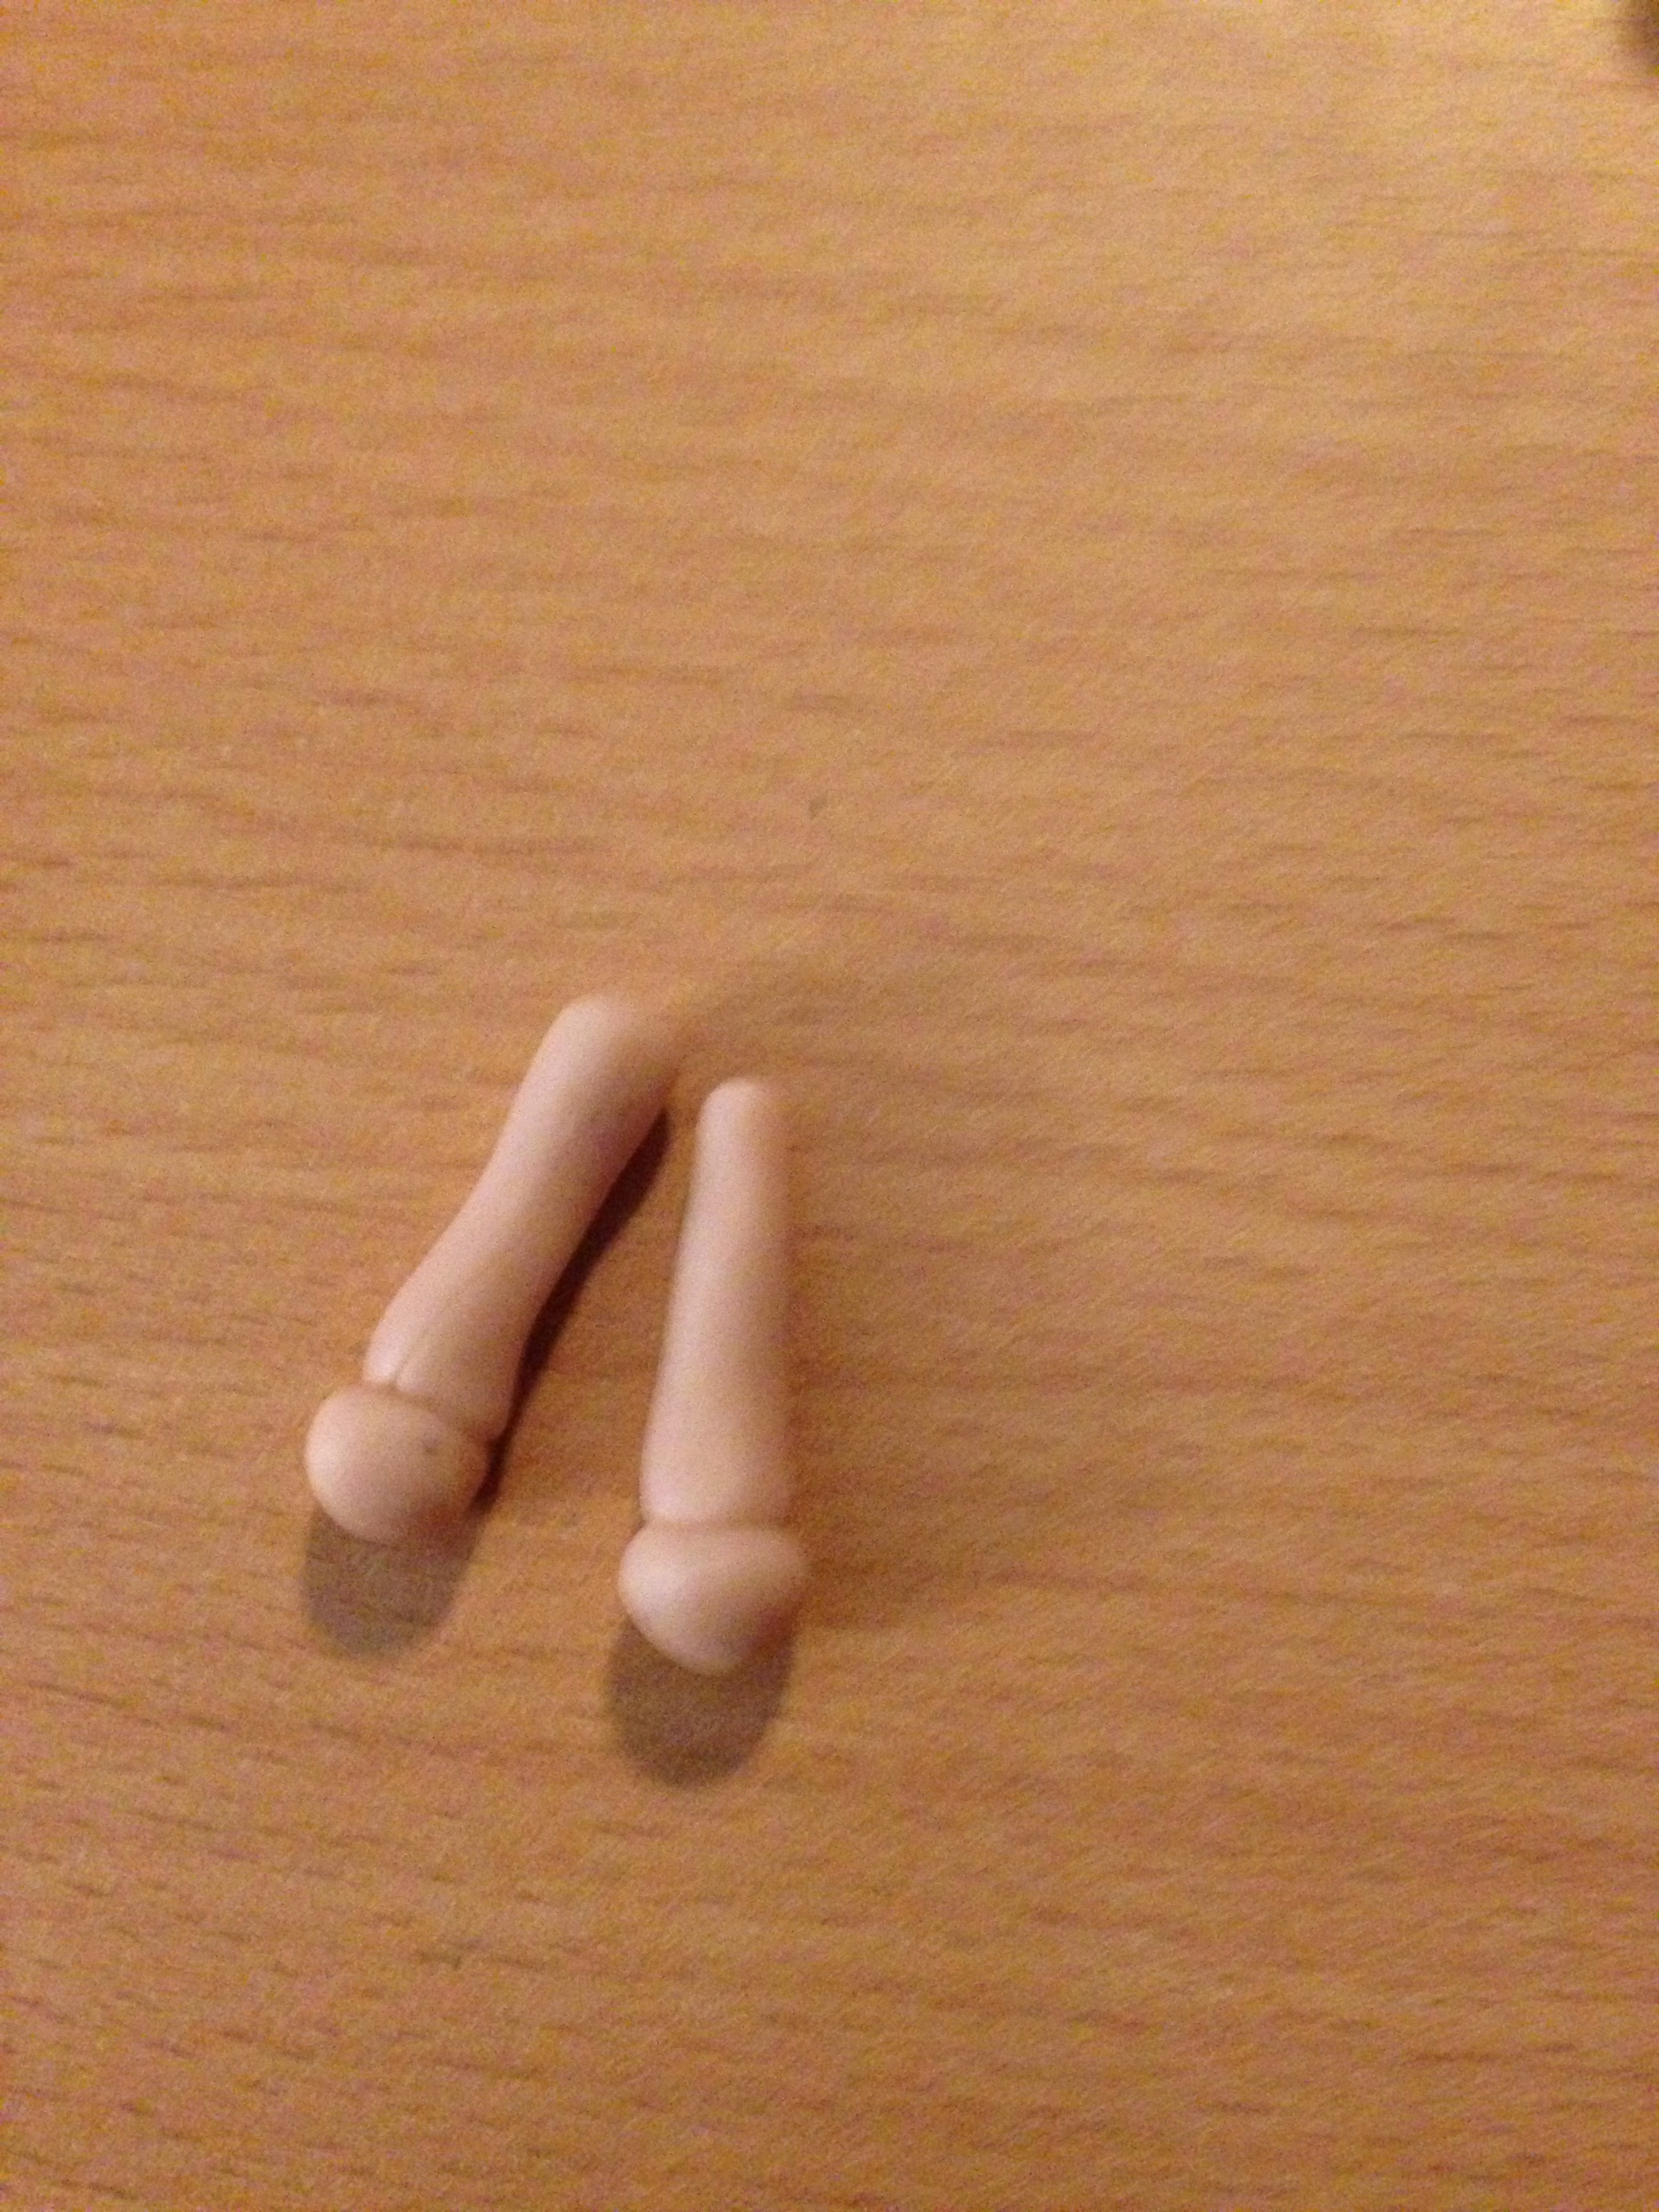
6) Roll legs into cylinders of about 3/4 inch.
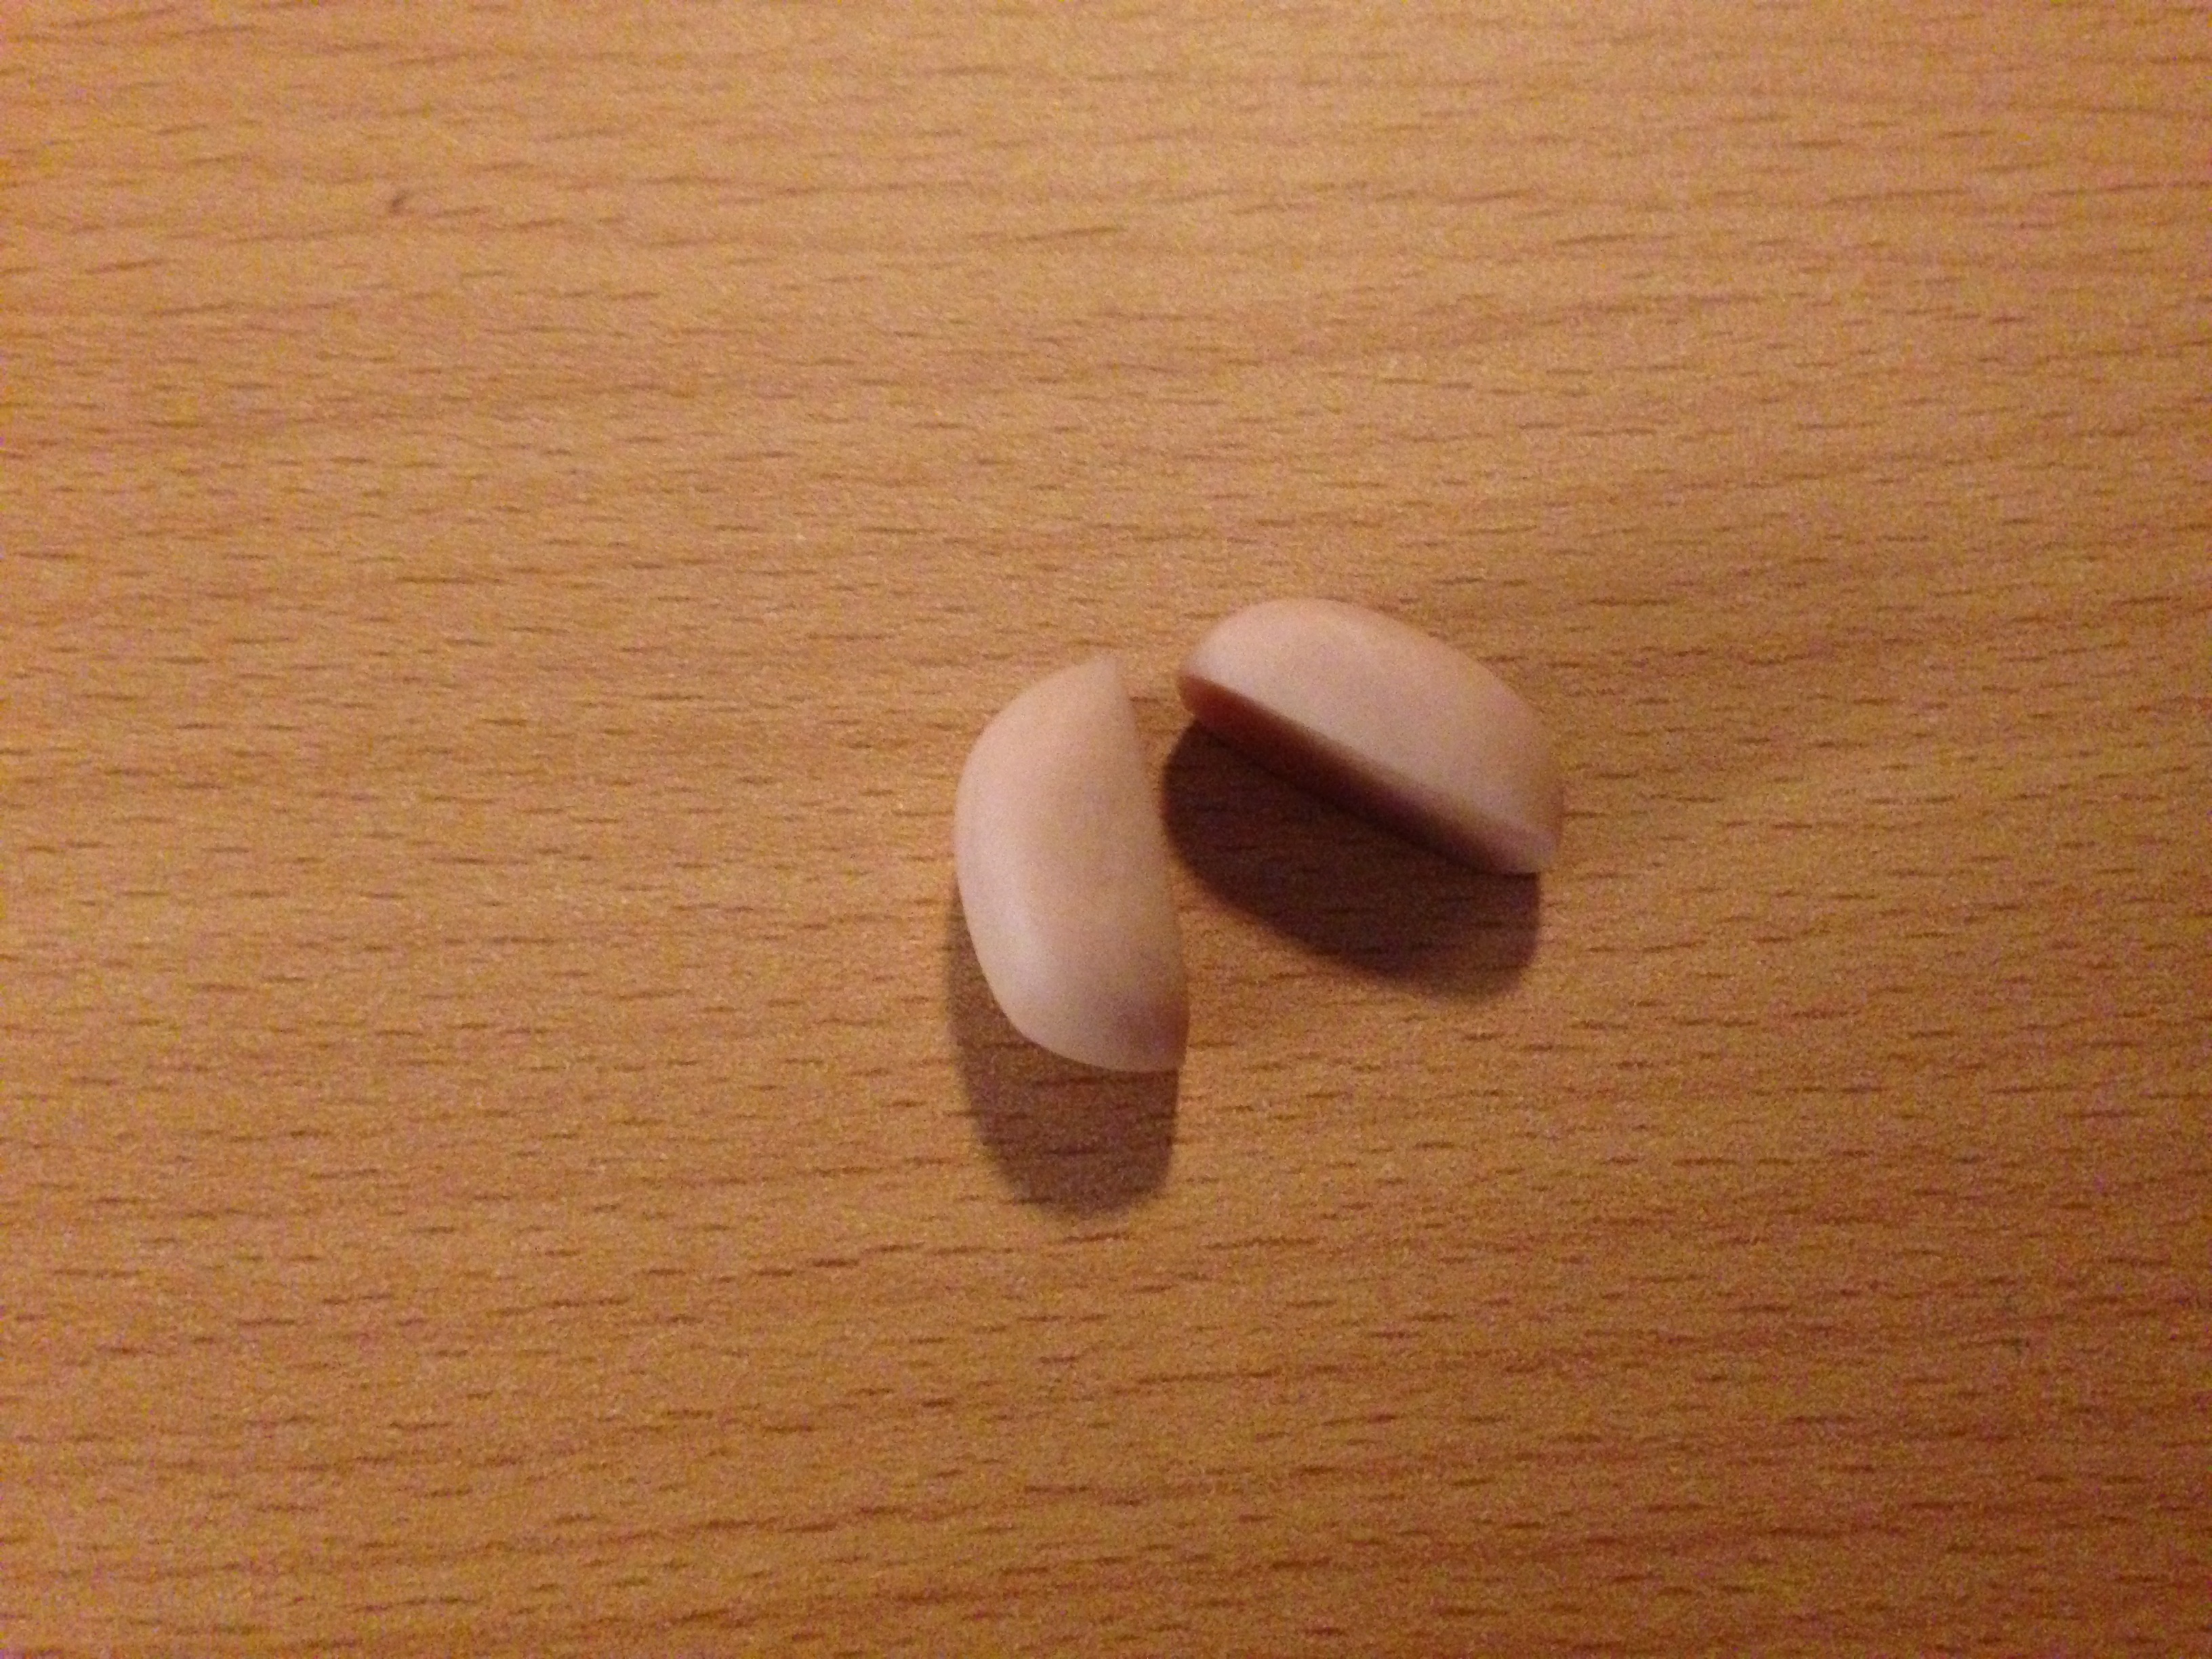
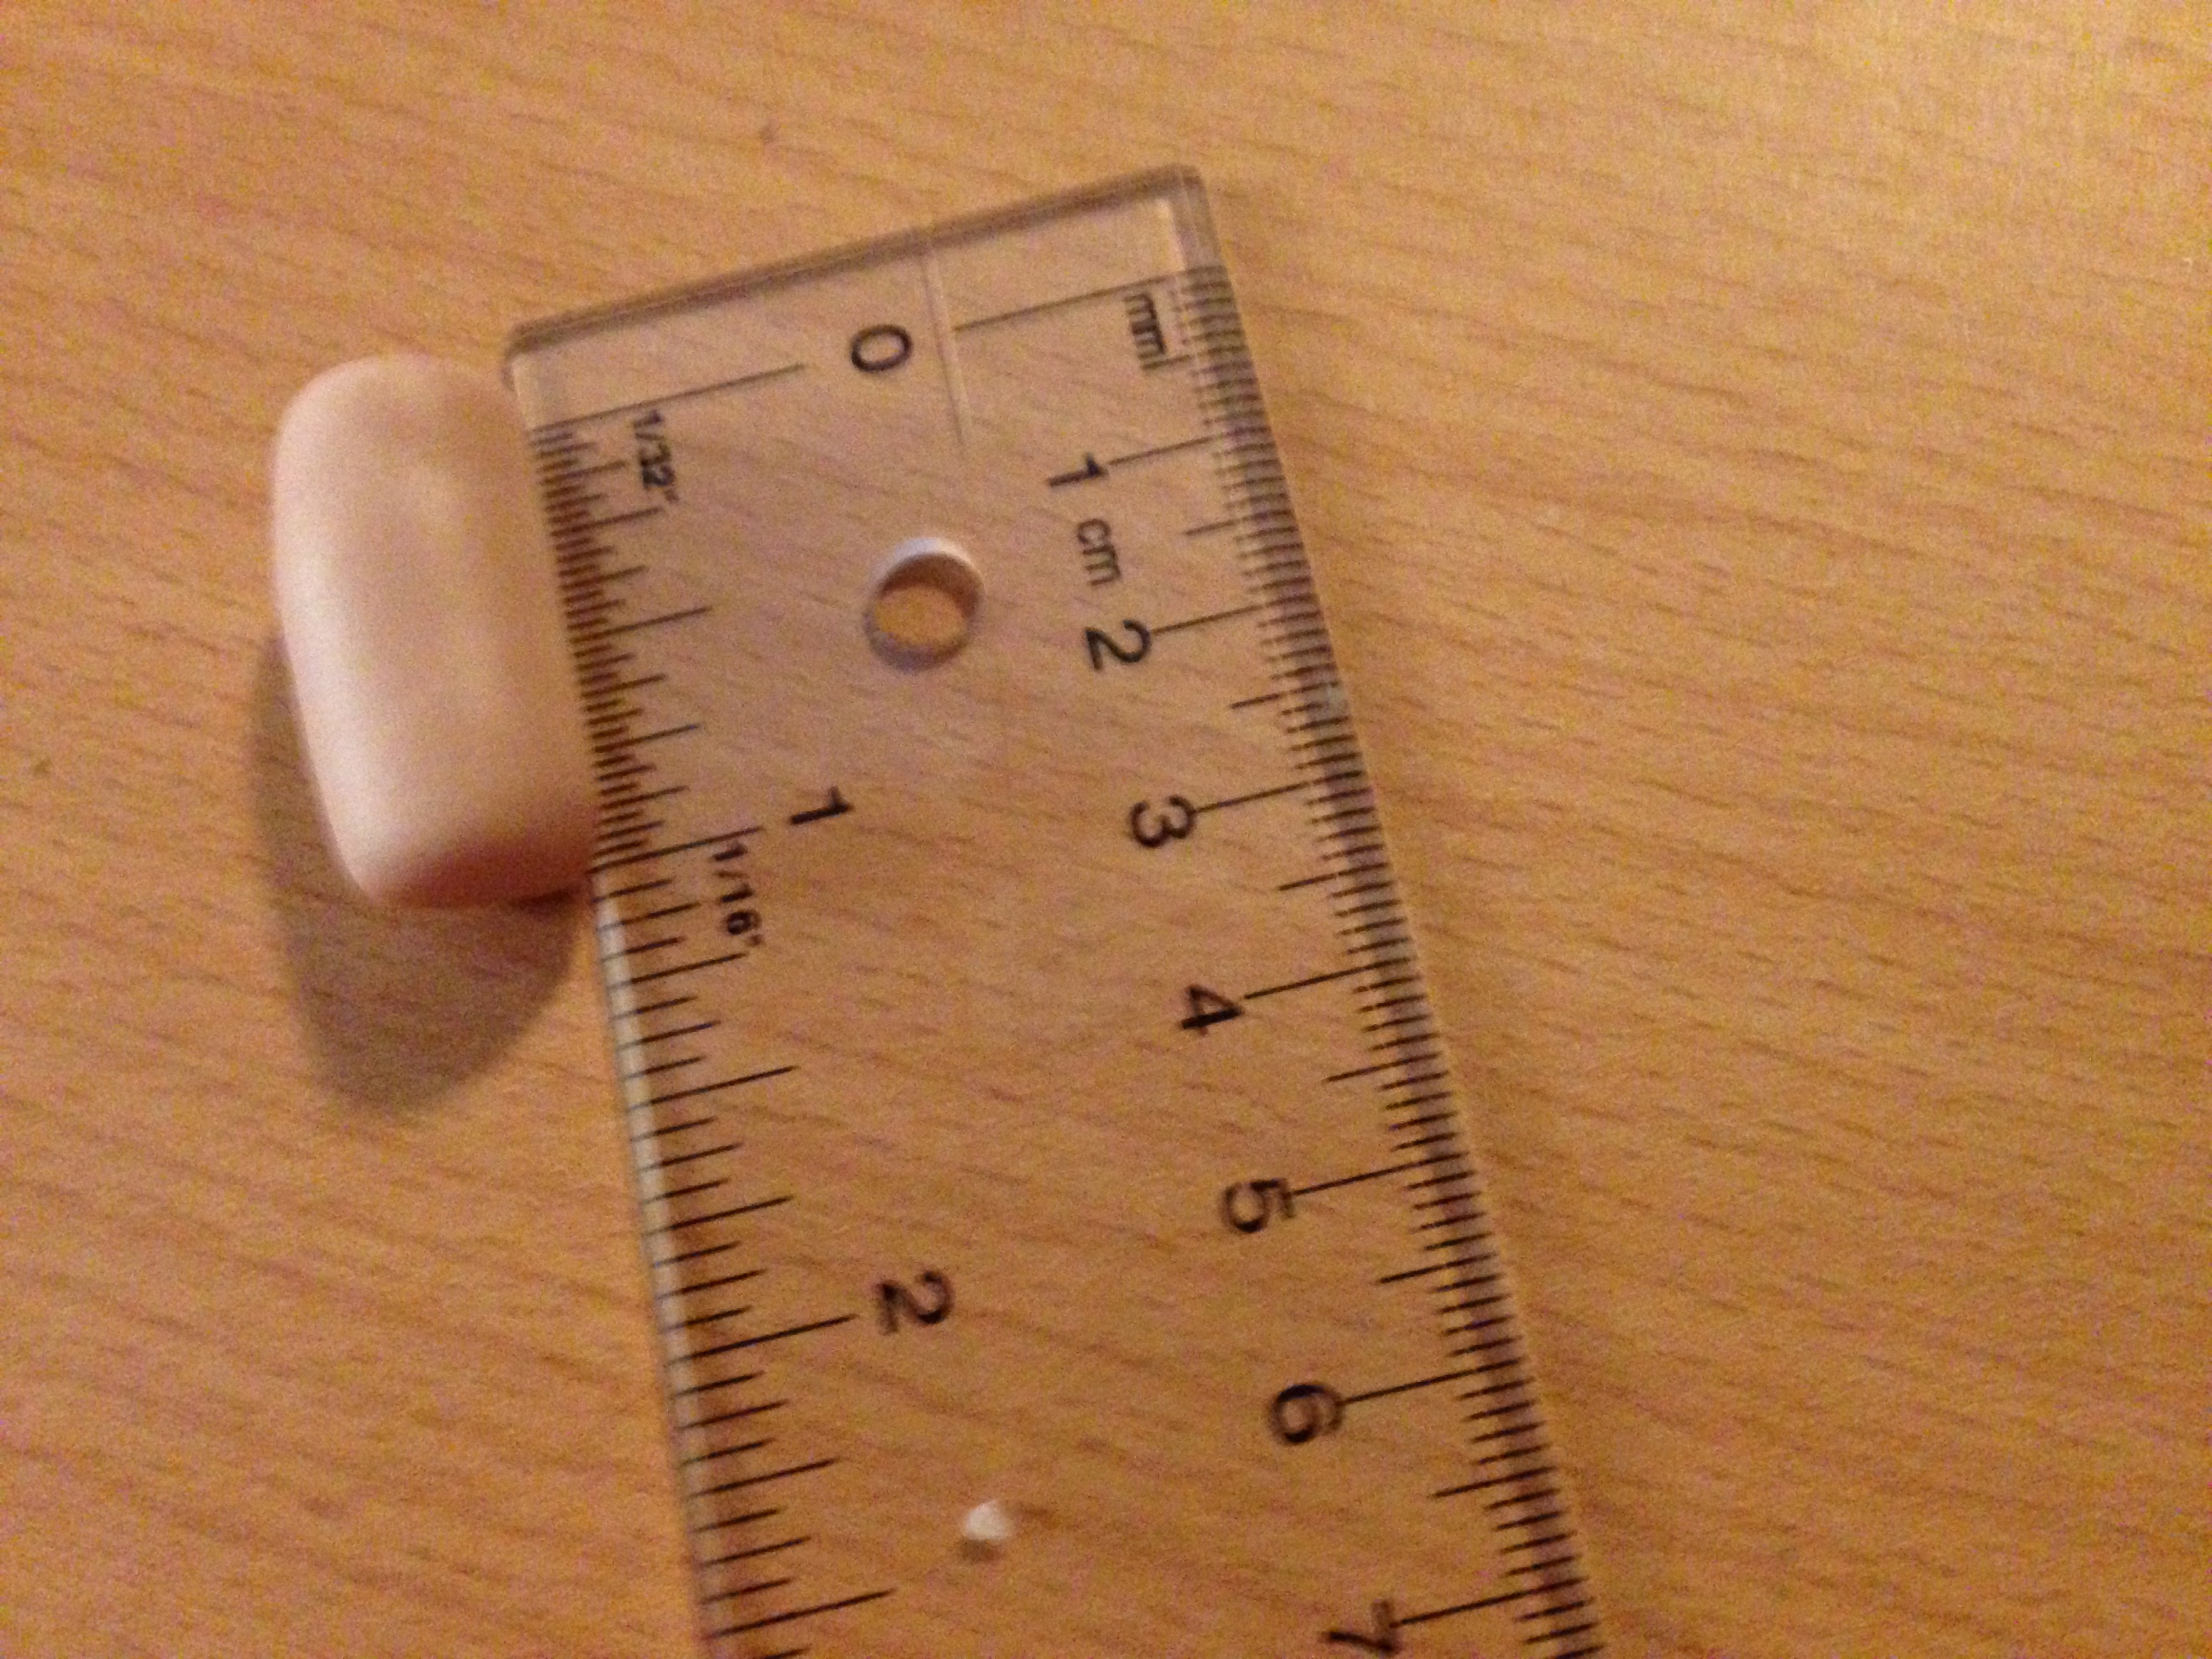
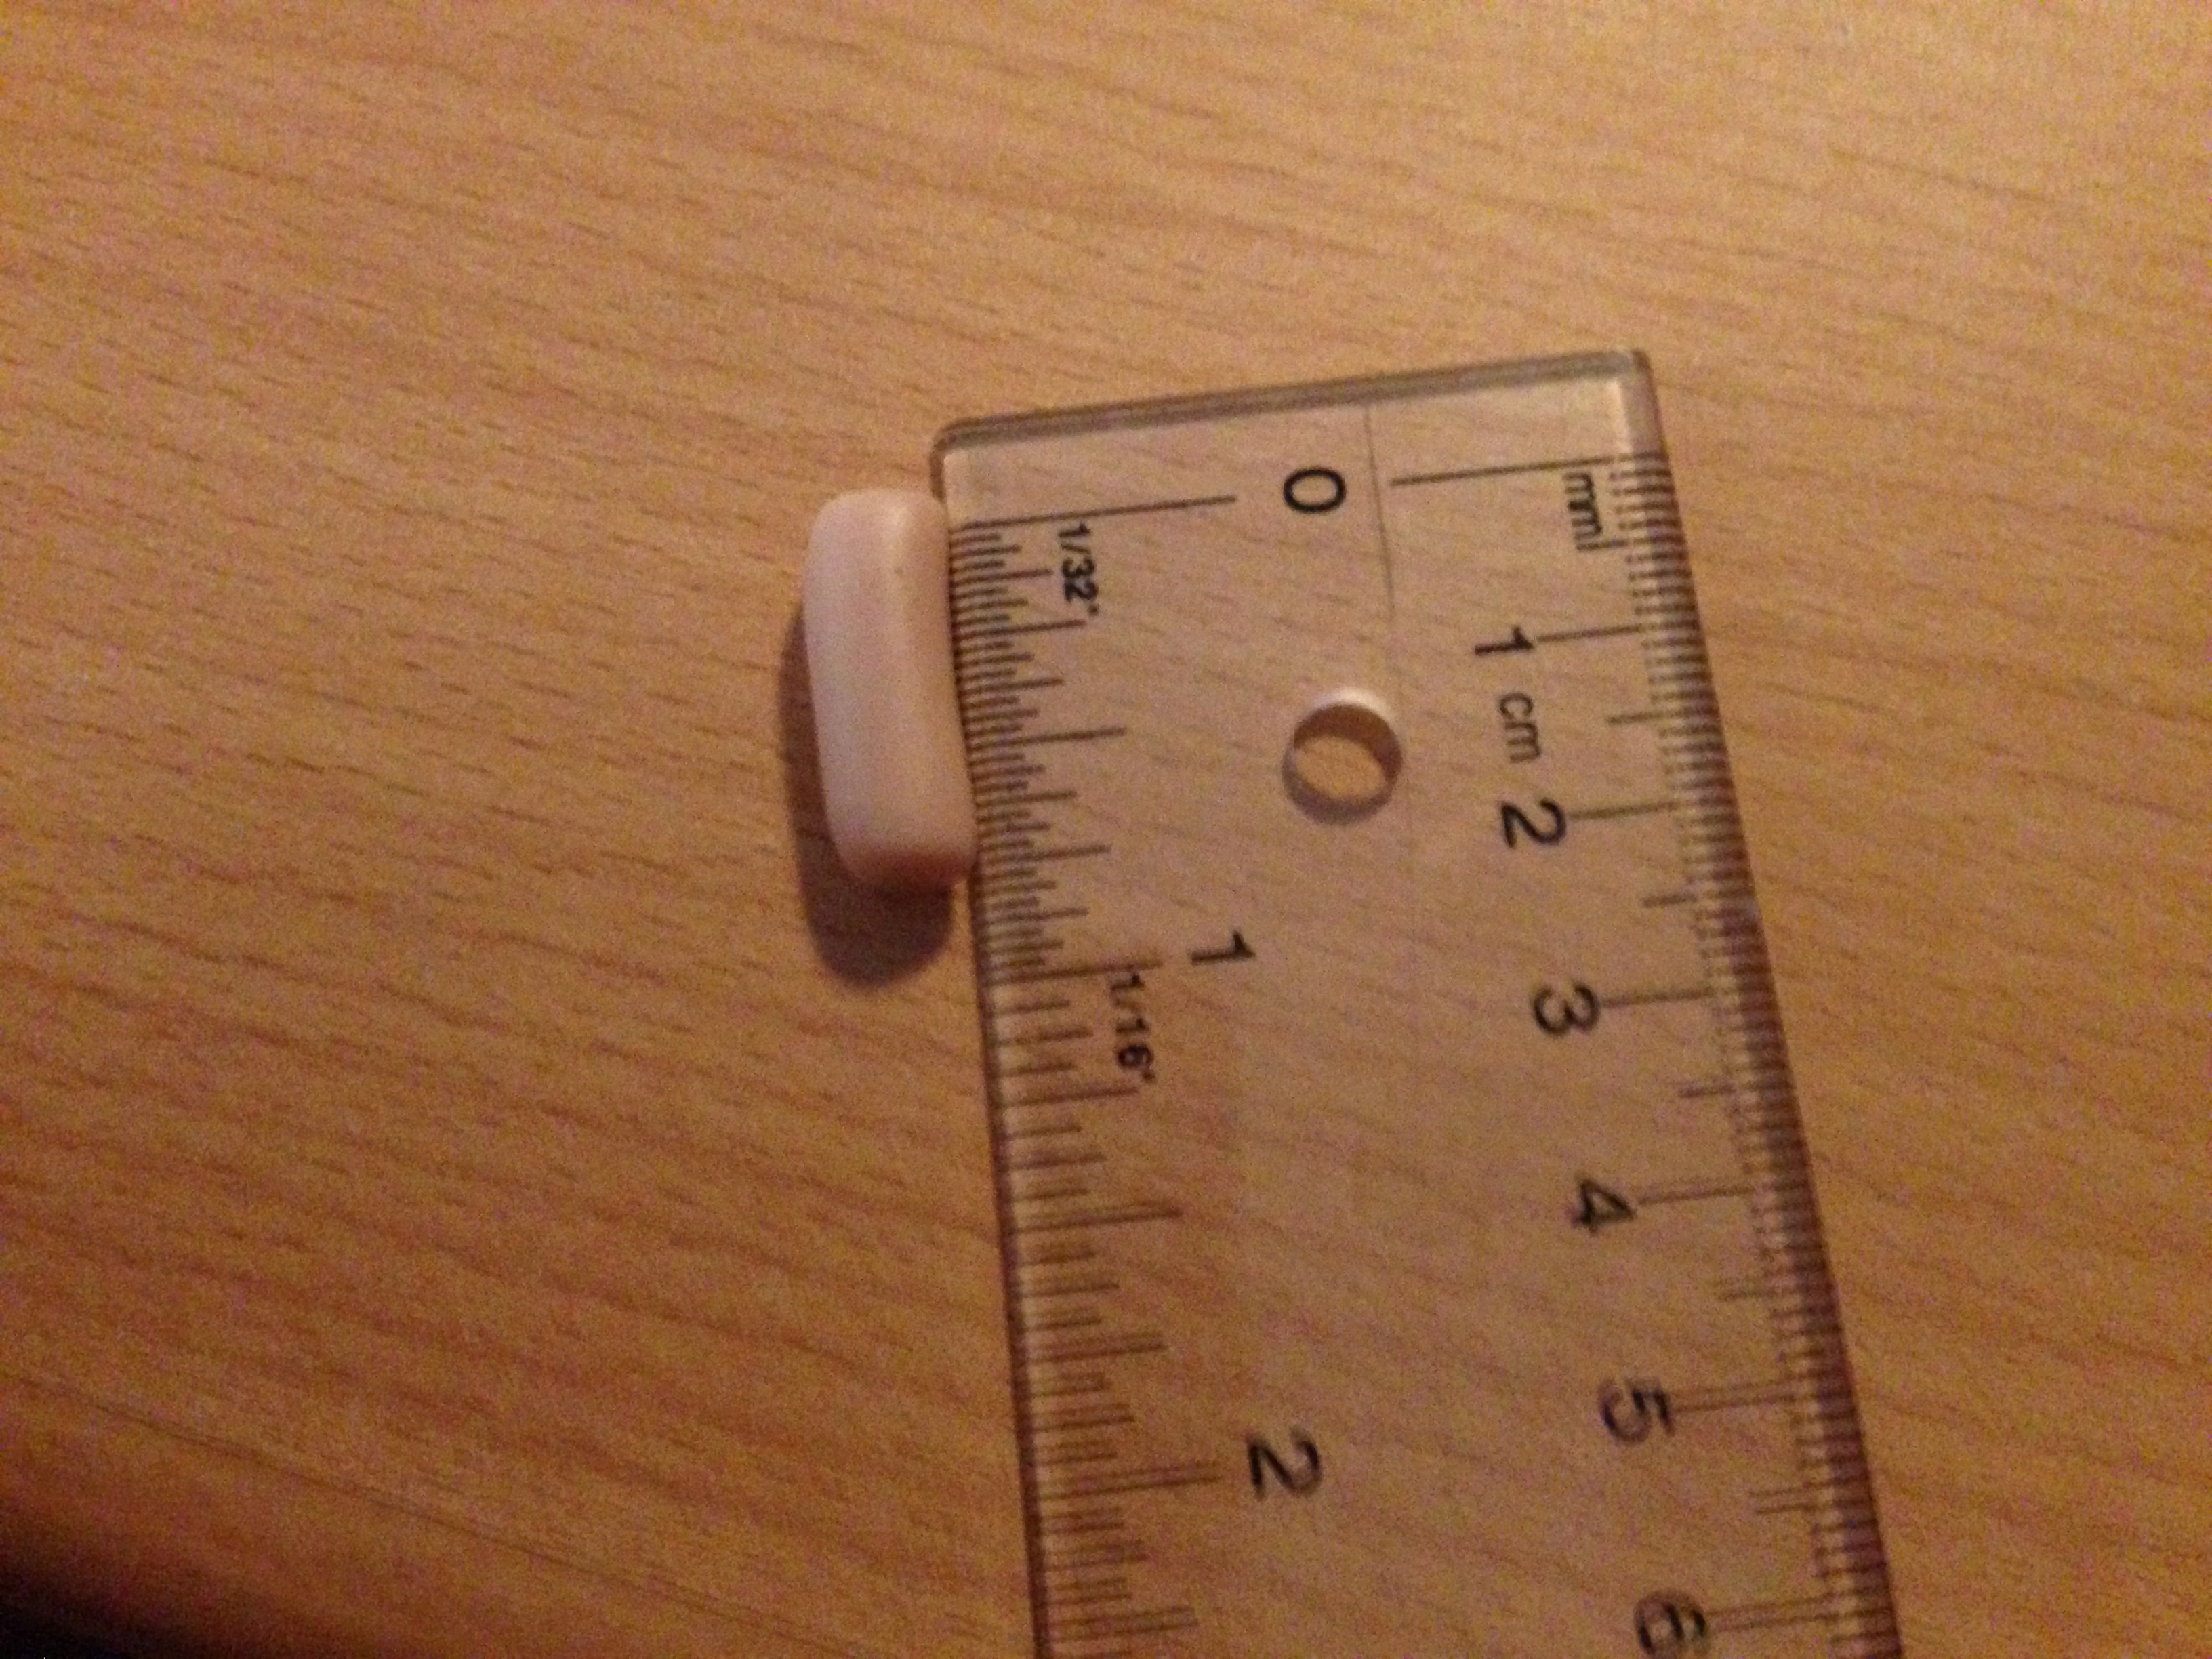
7. Roll an oval and slightly flatten it and cut it in half for feet. They should be about 1/4 in long.
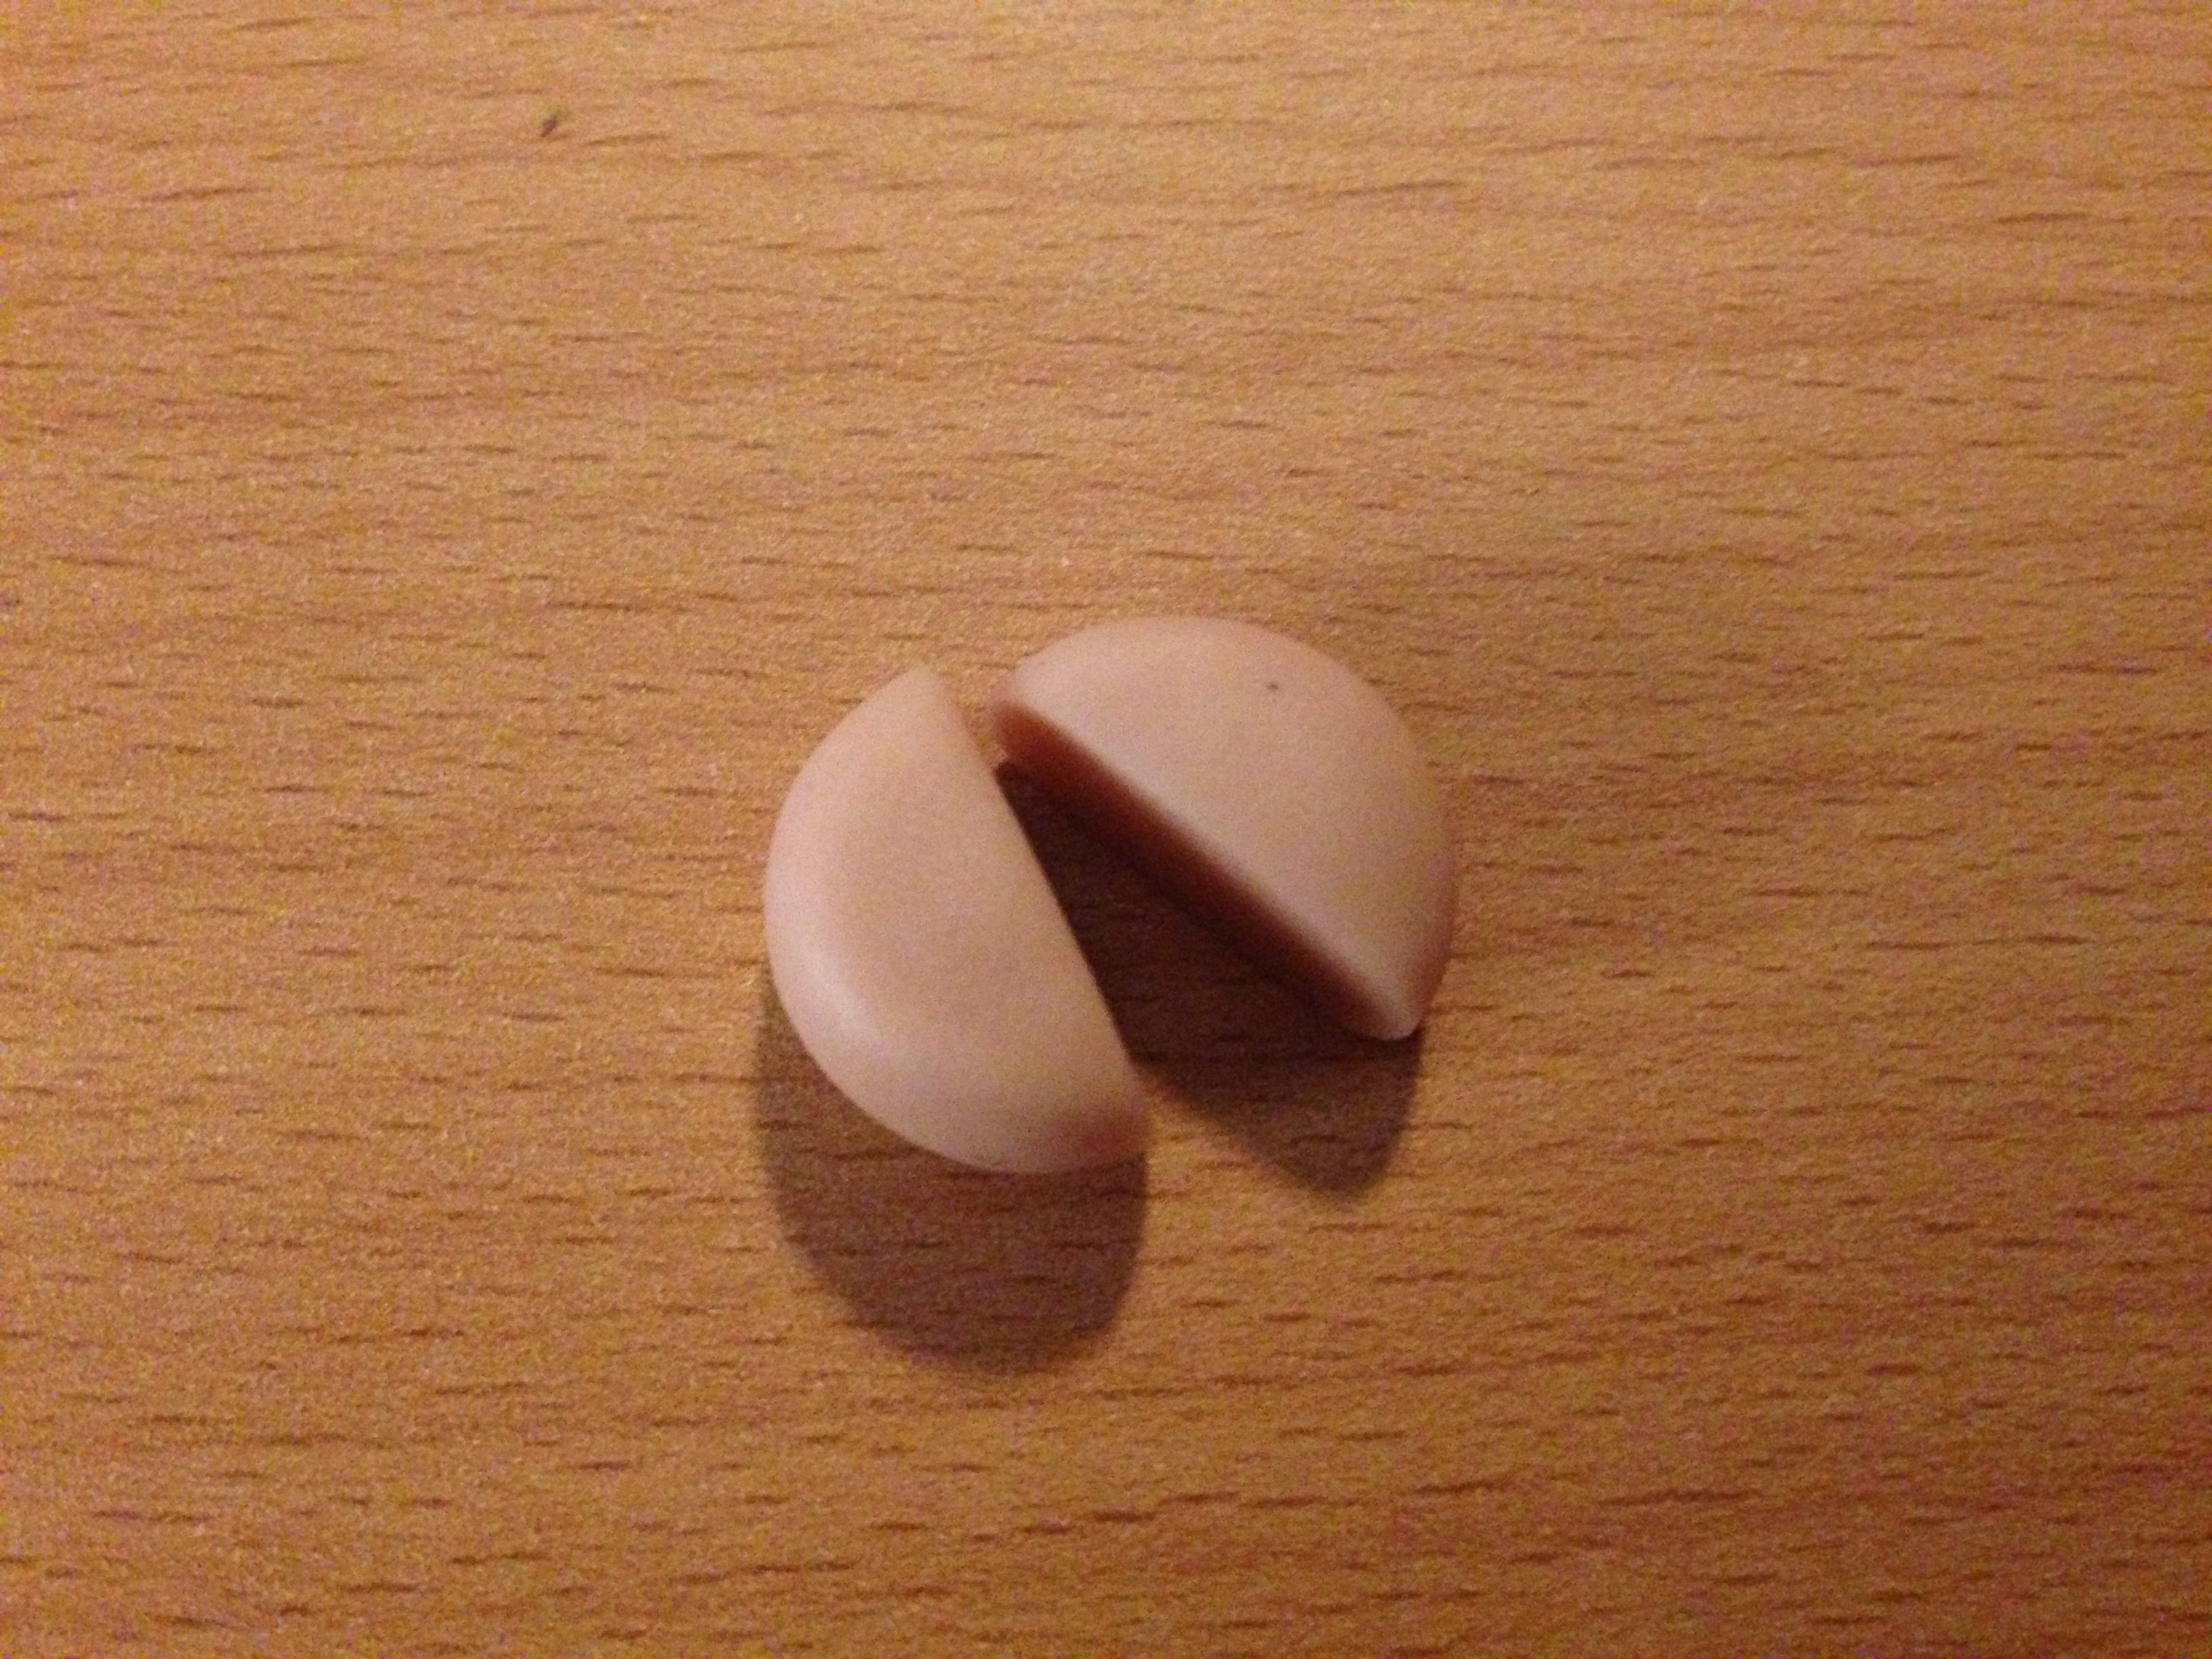
8) Roll a circle and flatten it, cutting it in half for the ears. They should be approx 1/2 inch long.
9) Roll cylinders of about 3/4 inch for the arms

10) Roll hands into balls. They should be approx 1/4 in
11) Use pliers to straighten out paper clips
Everything is ready to assemble!
ASSEMBLY:
1) Skewer one of the legs onto one of the paper clips.
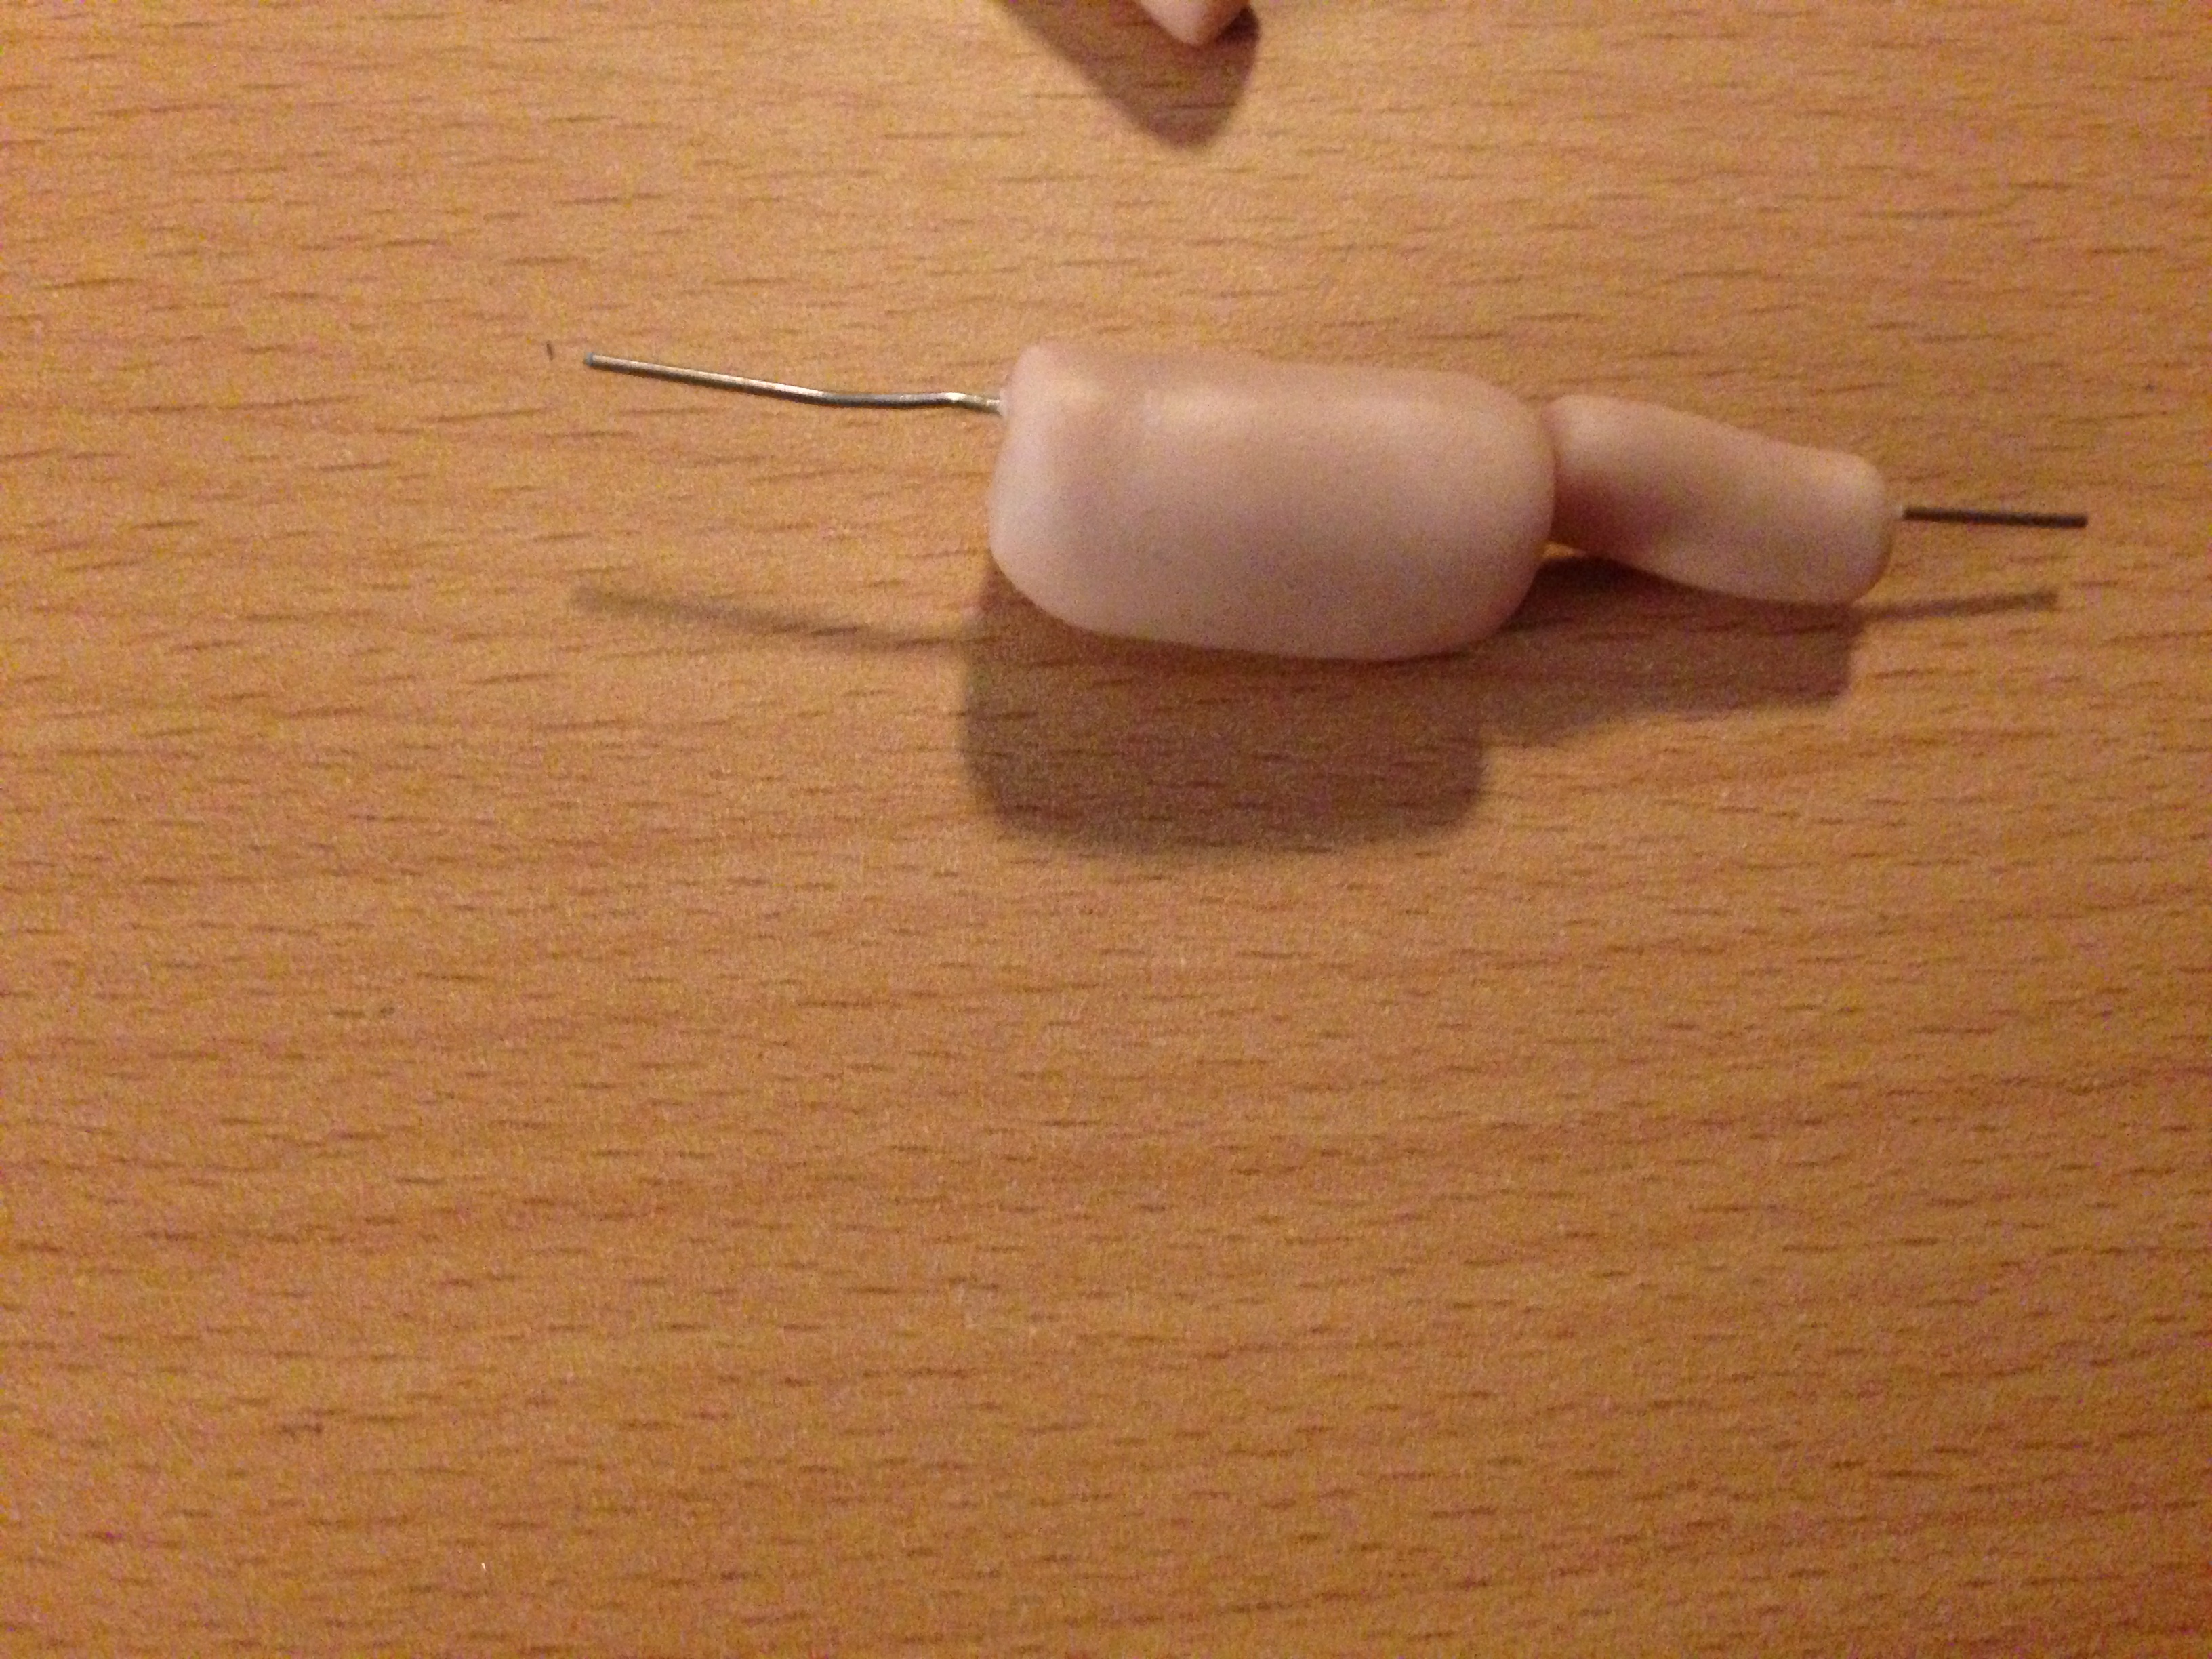
2) Skewer the torso. Keep it slightly to the side, not straight through the middle.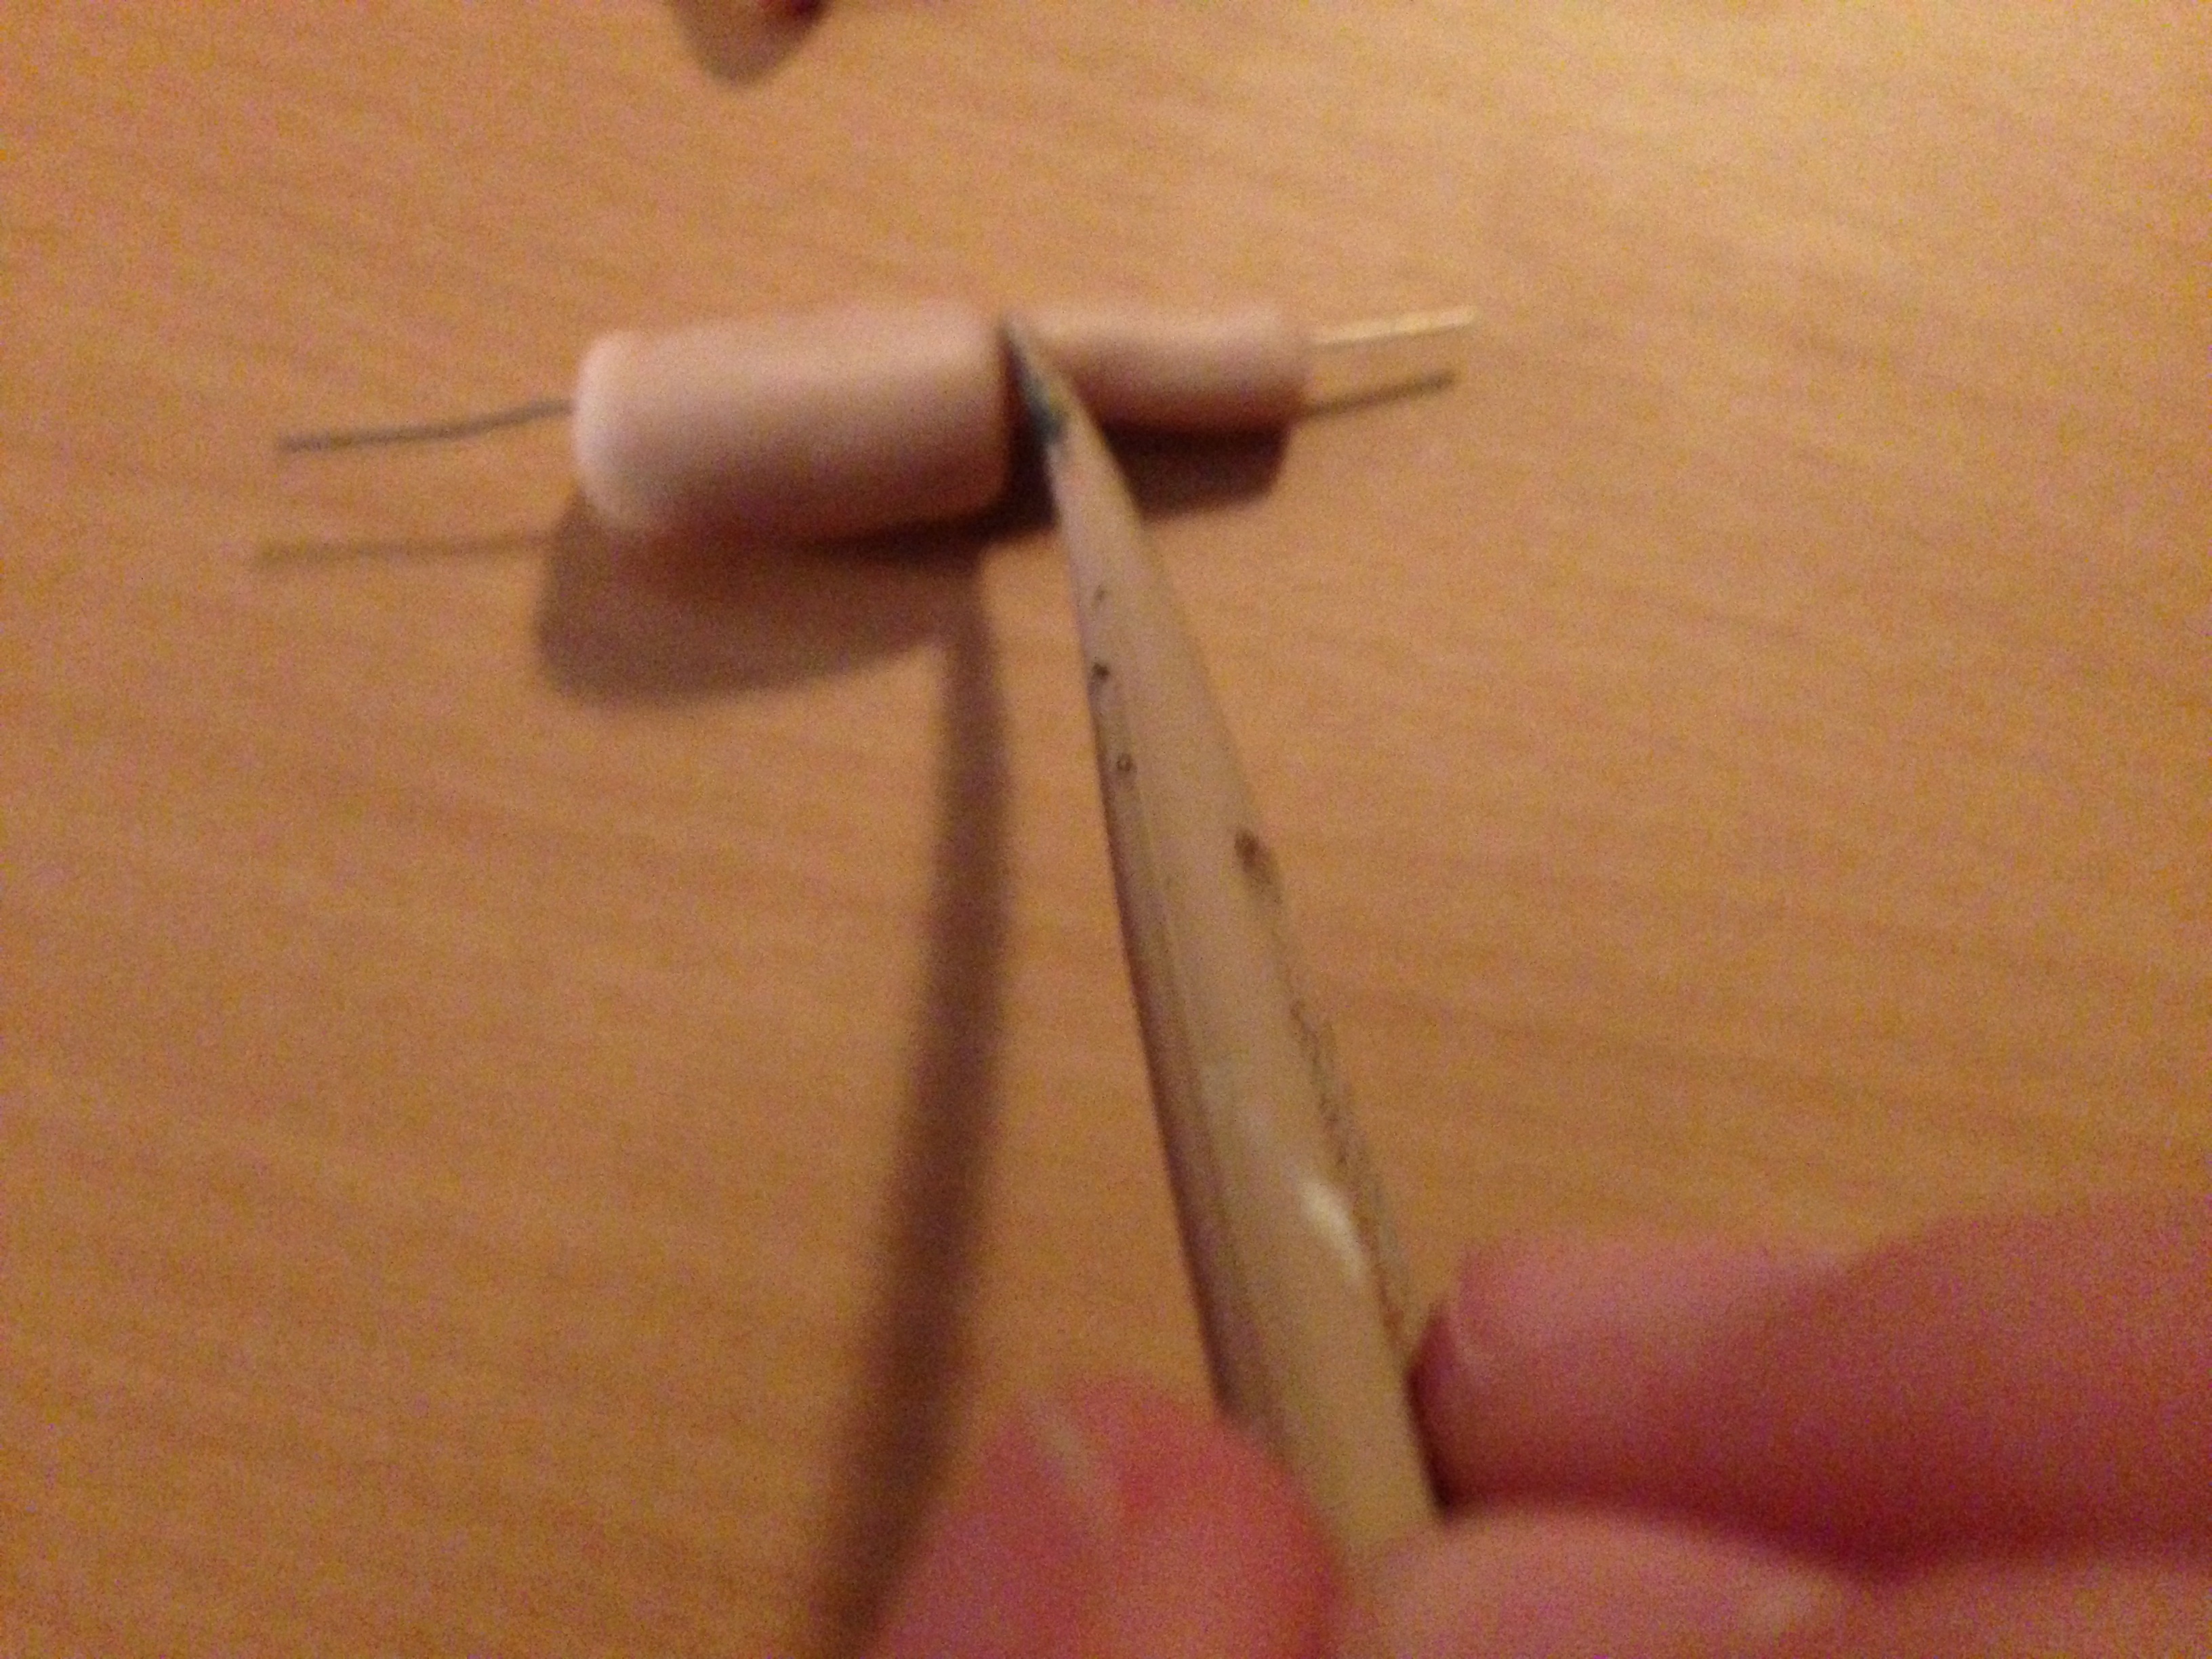
3) Use sculpting tools to join the leg to the torso

4) Repeat process with the second leg.
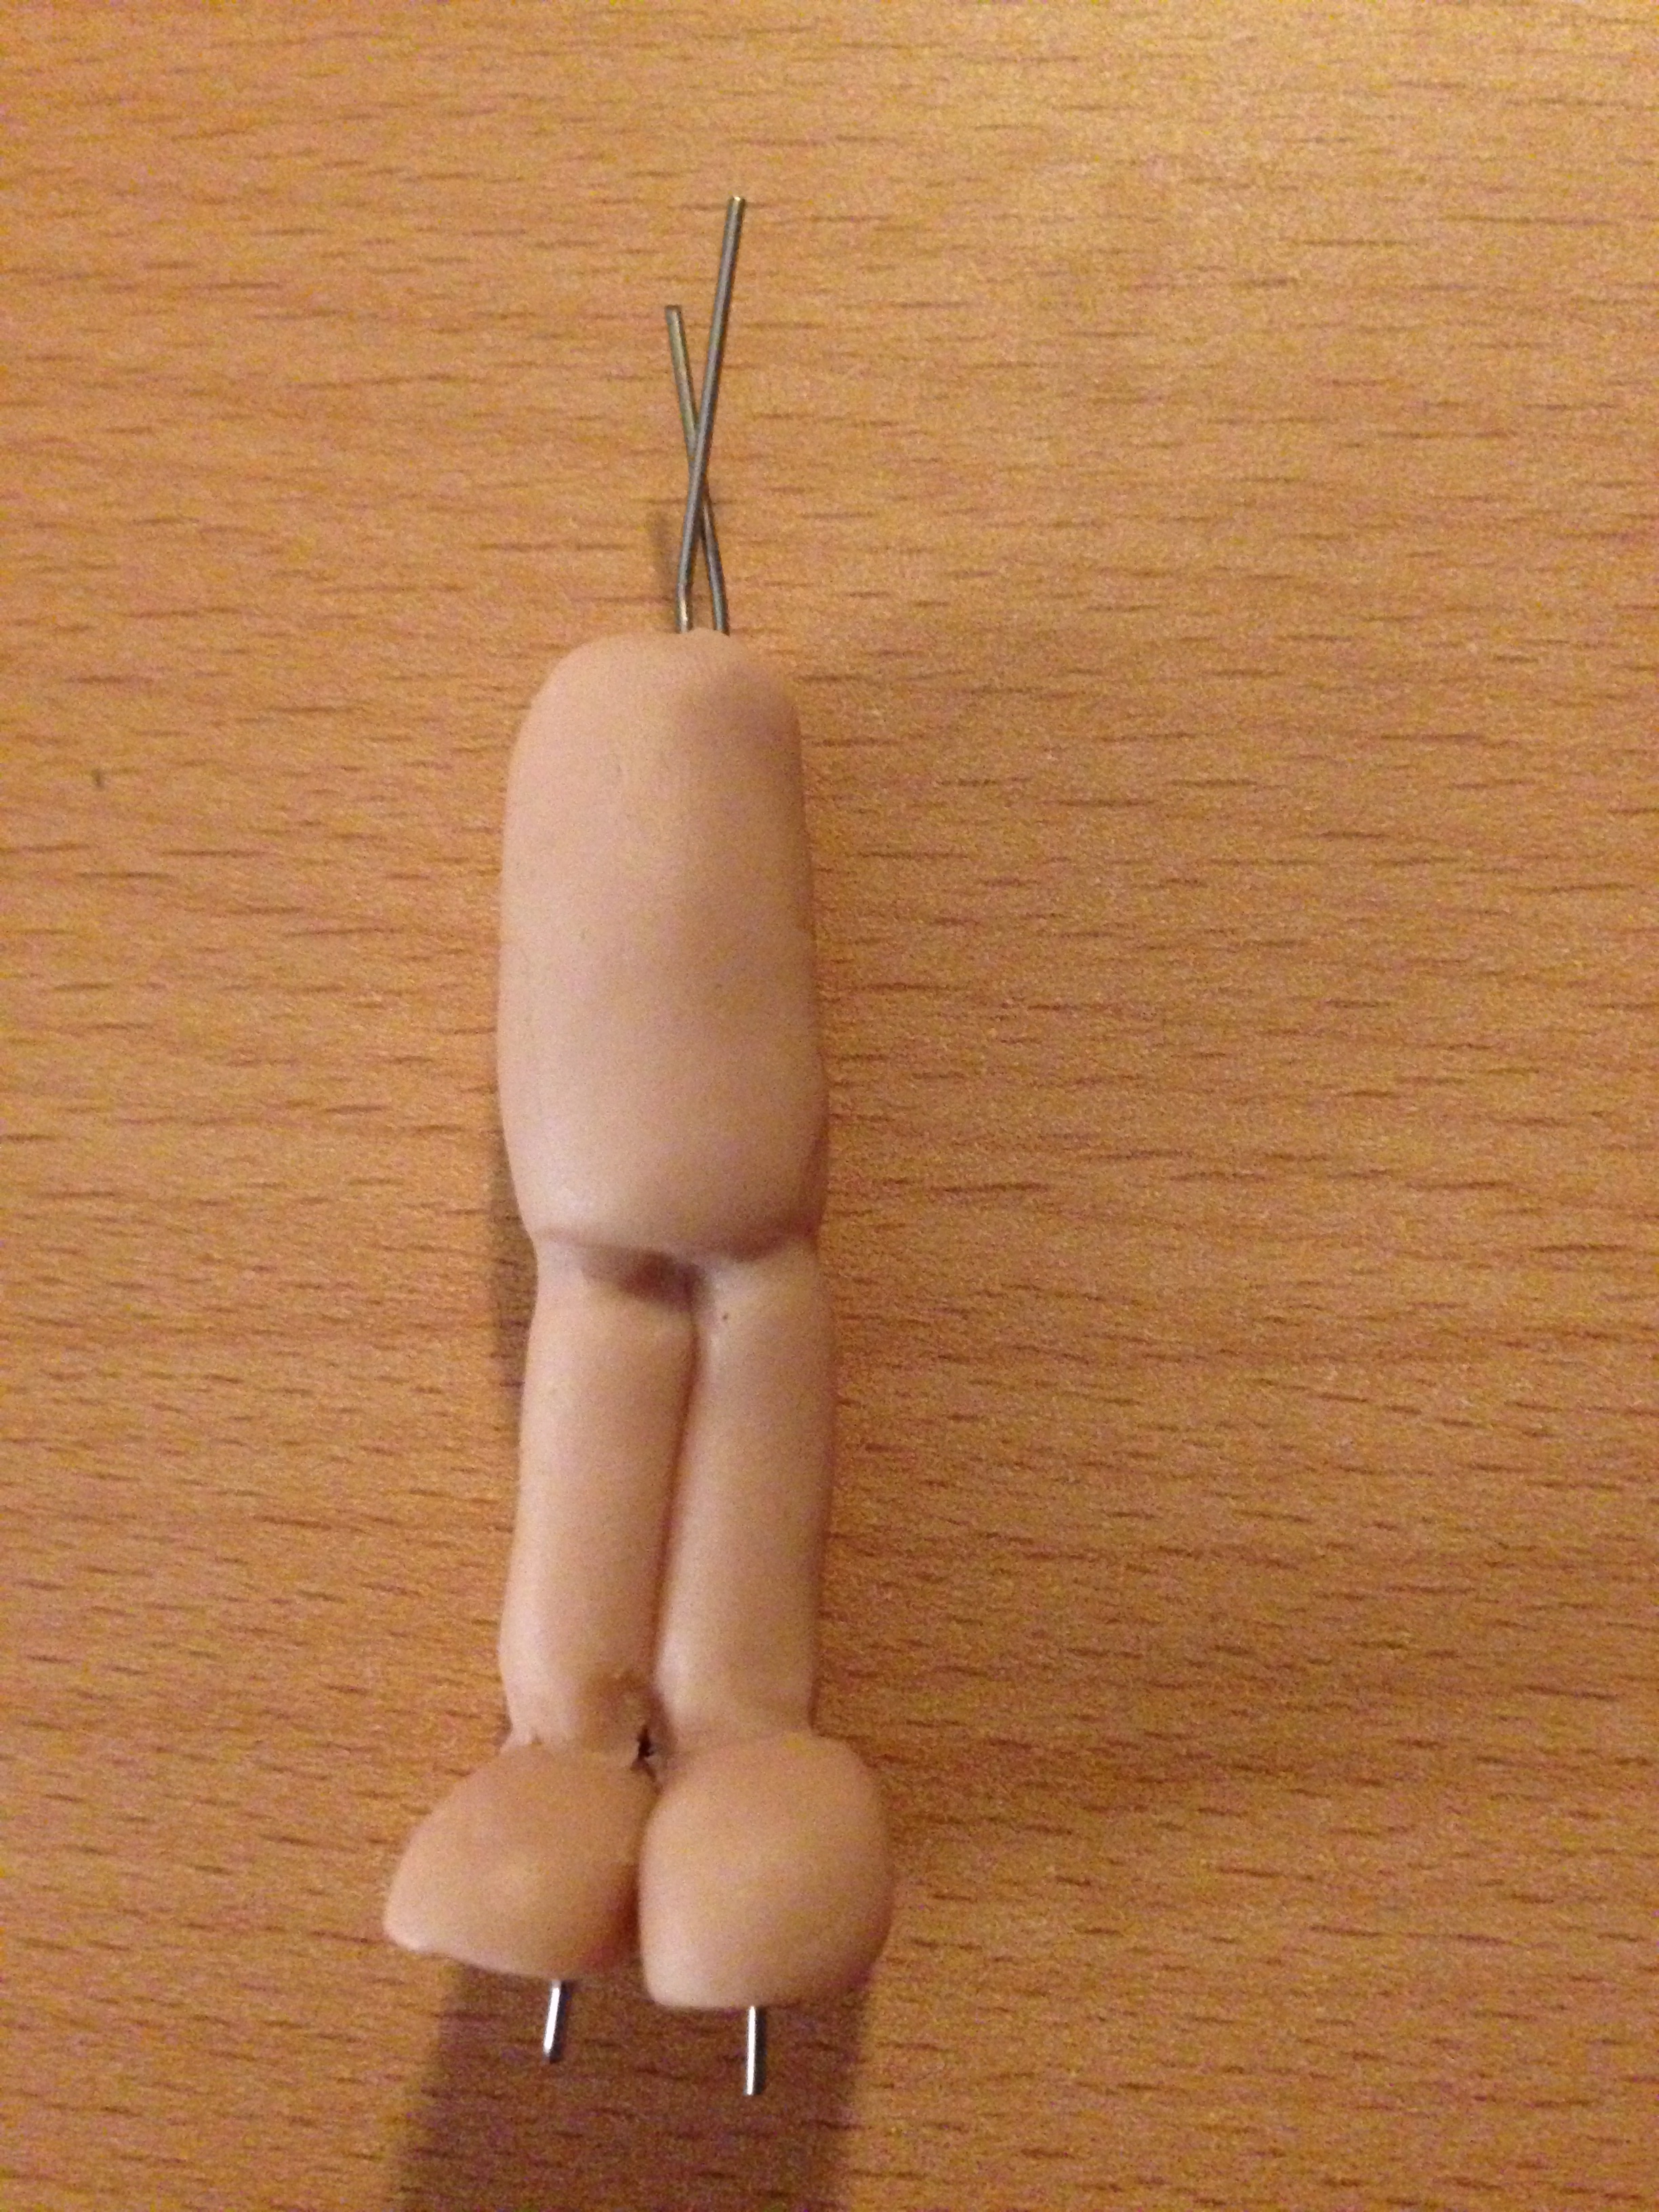
5) Skewer feet on and smooth out.
6) press and smooth hands onto arms.
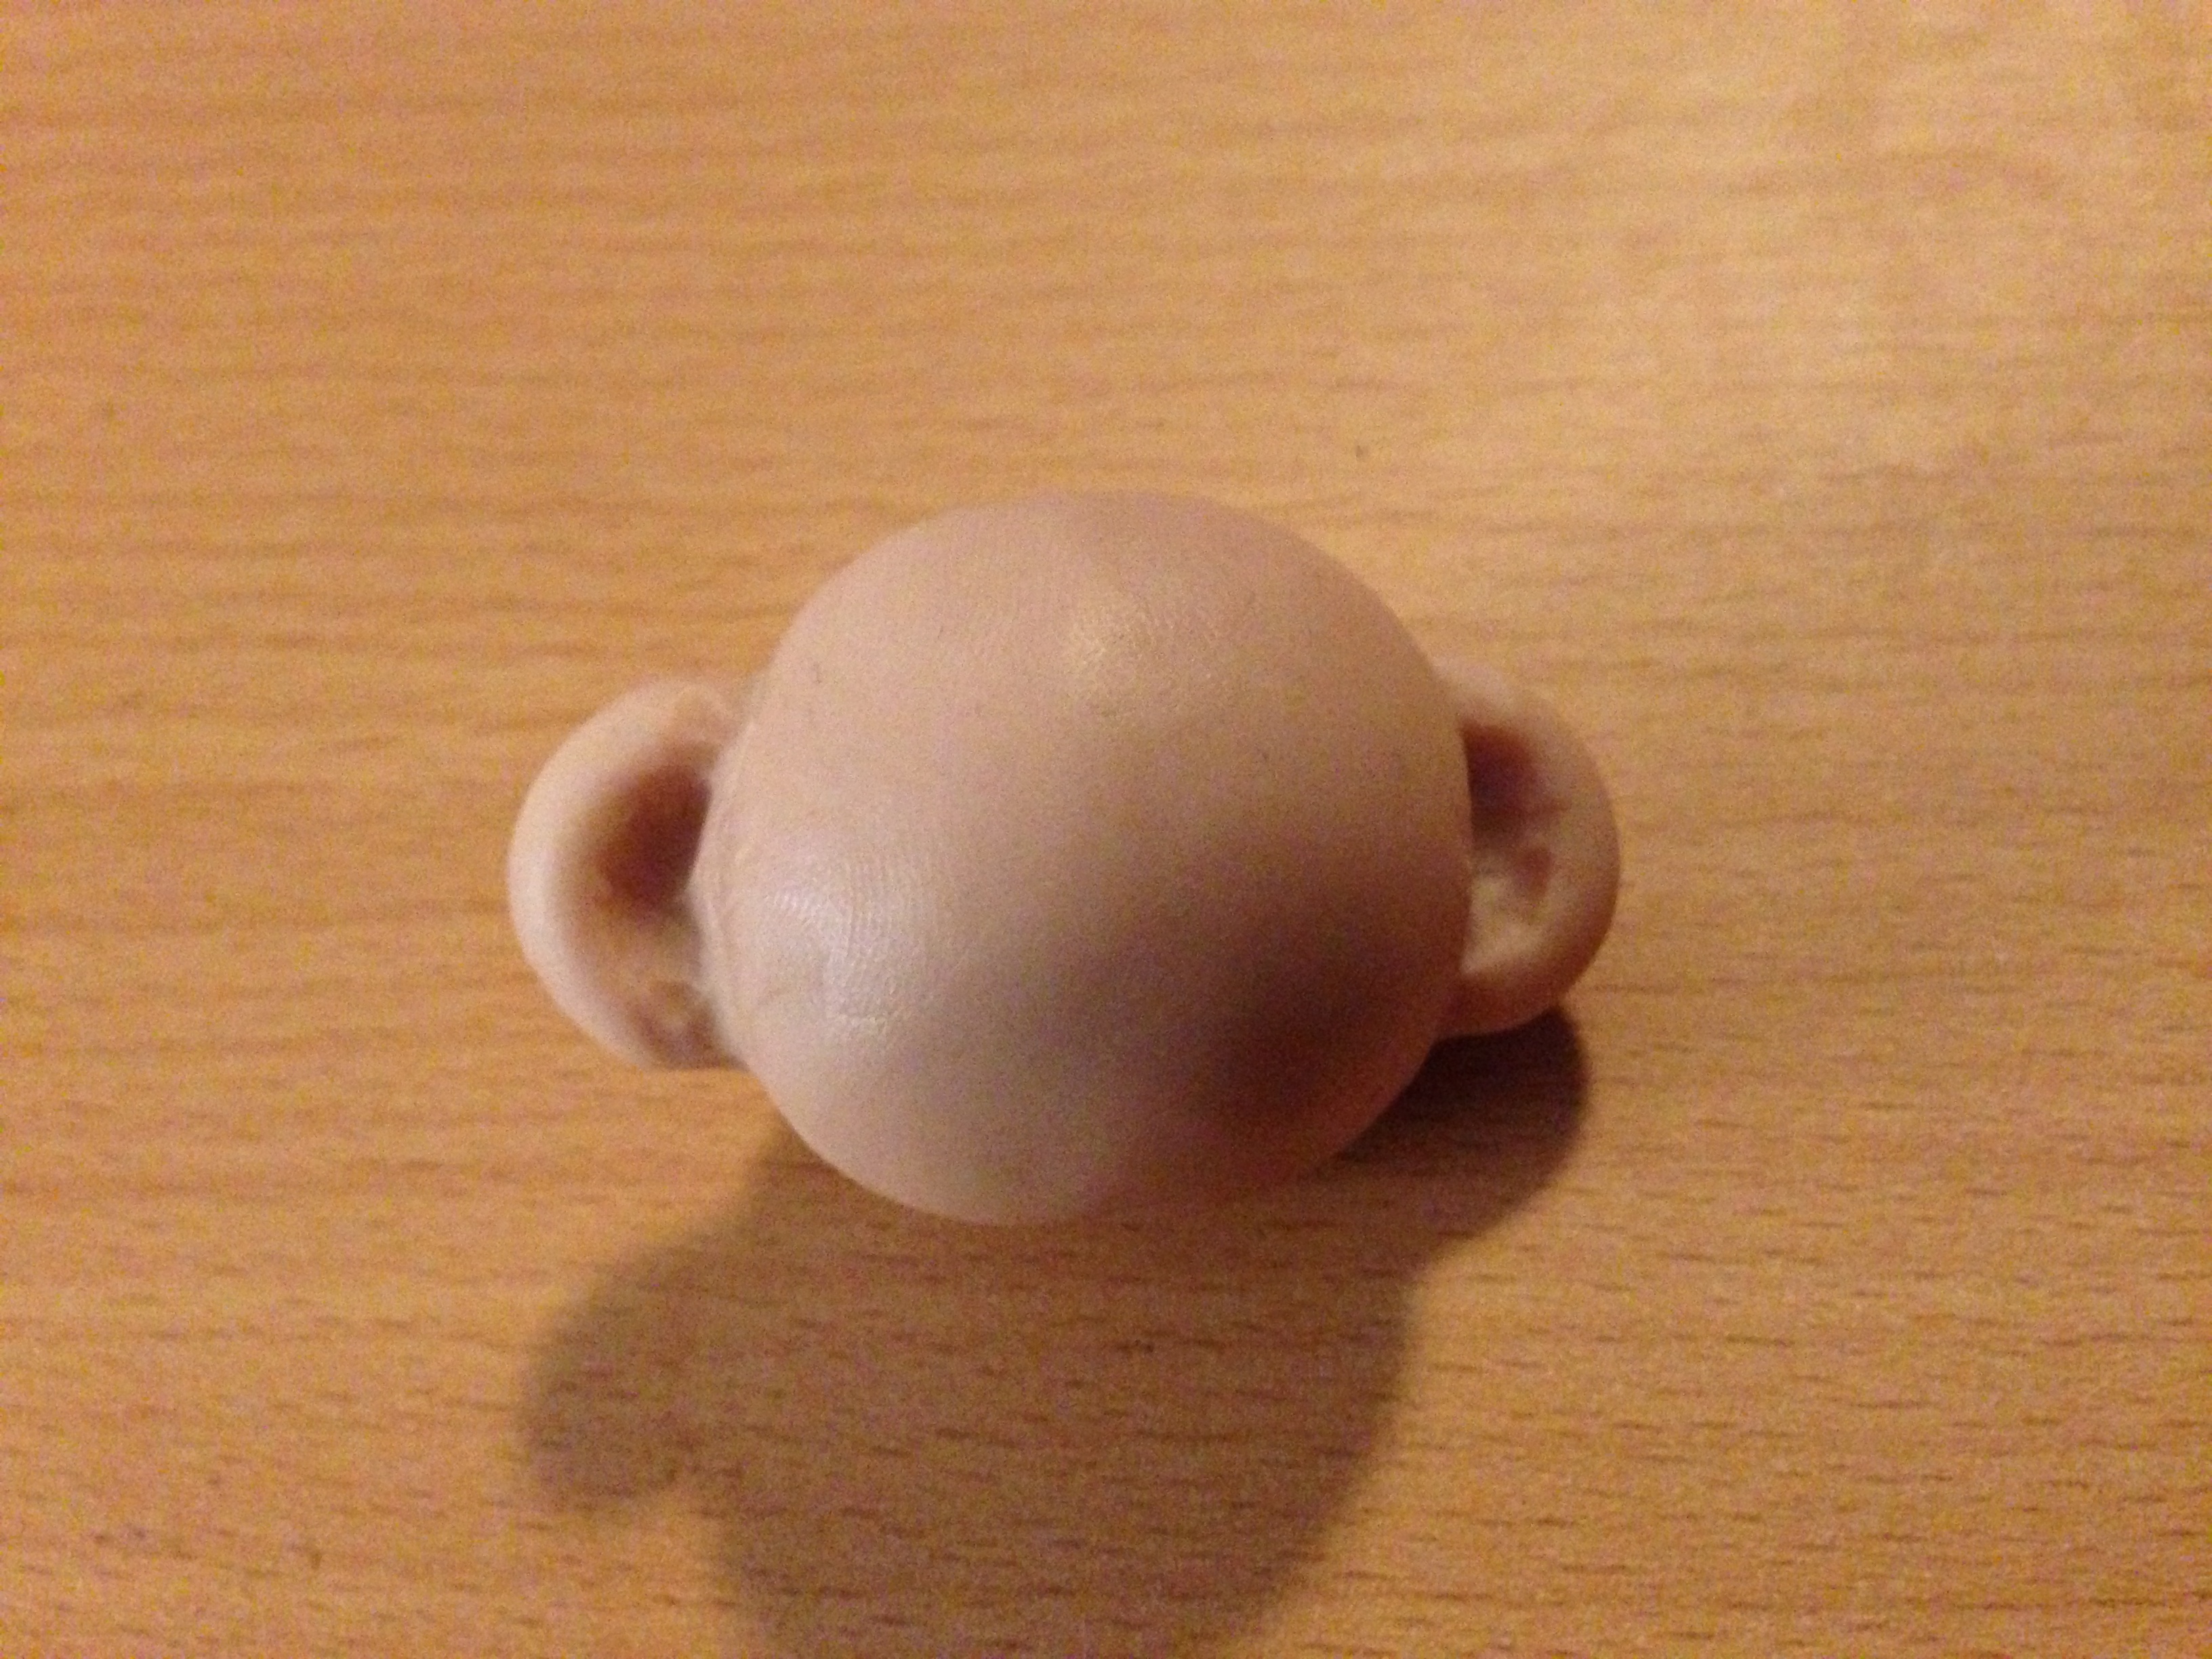
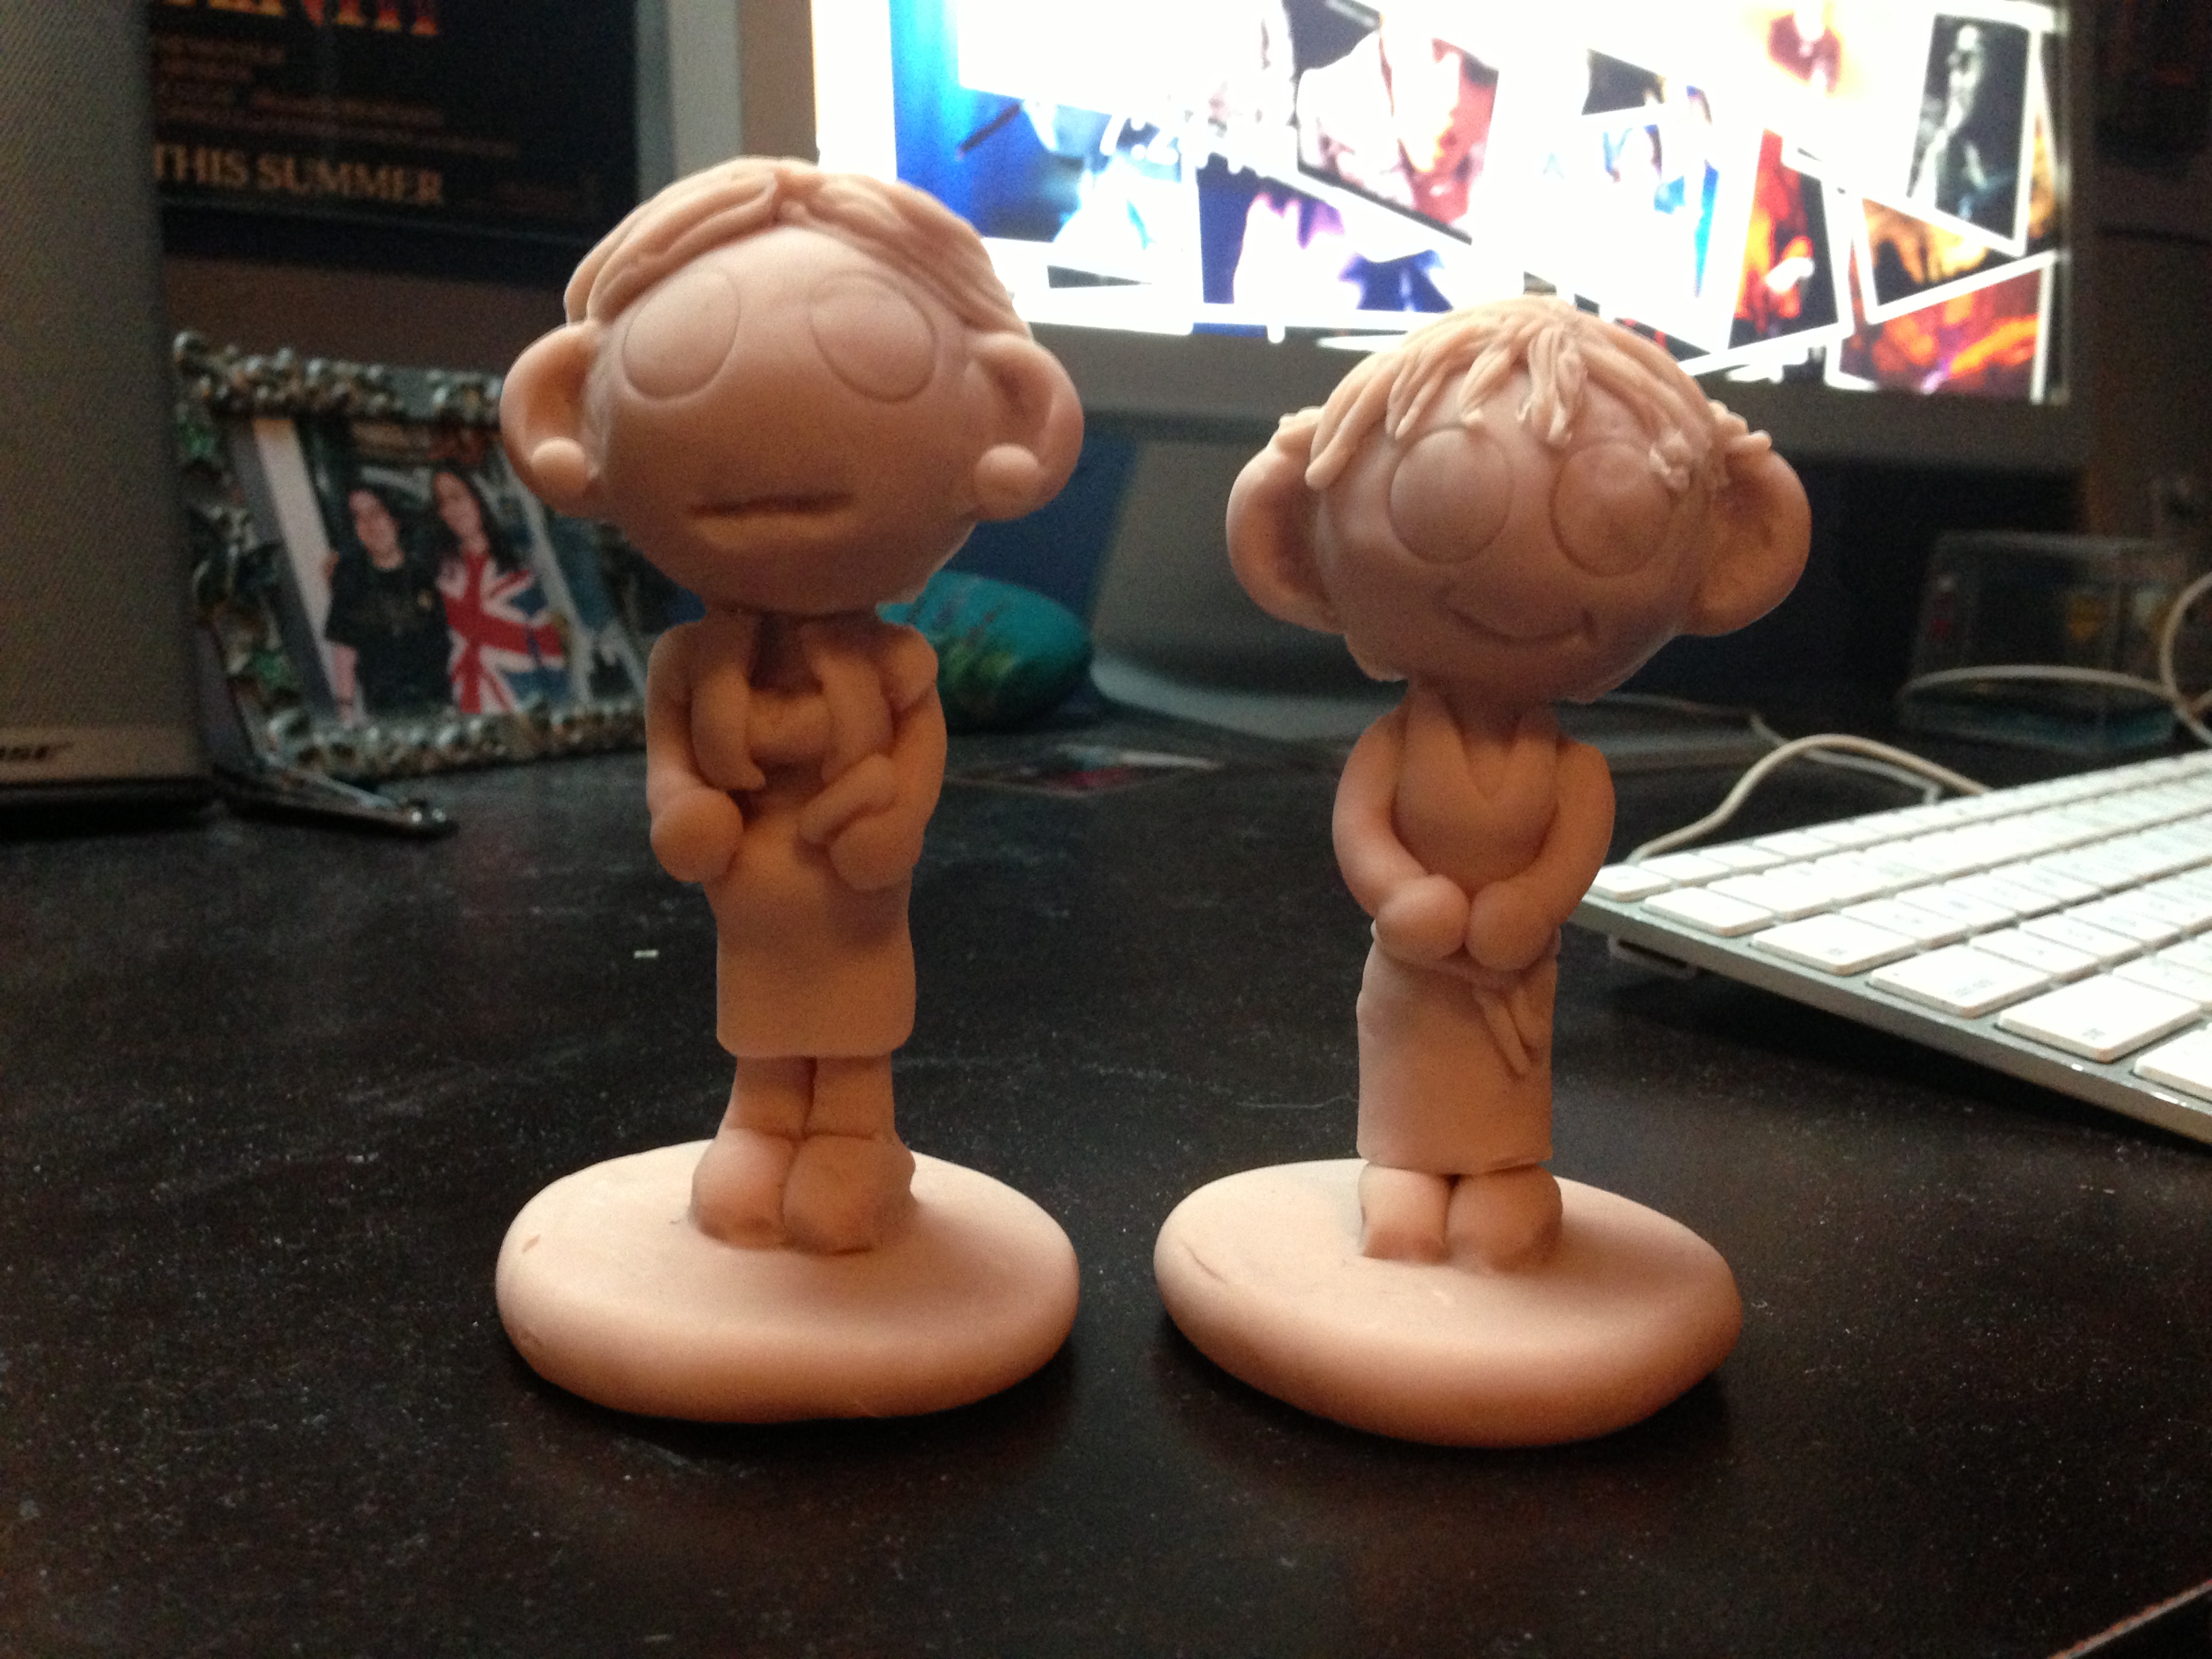
7) Add ears onto head. Create indents in ears using sculpting tool.
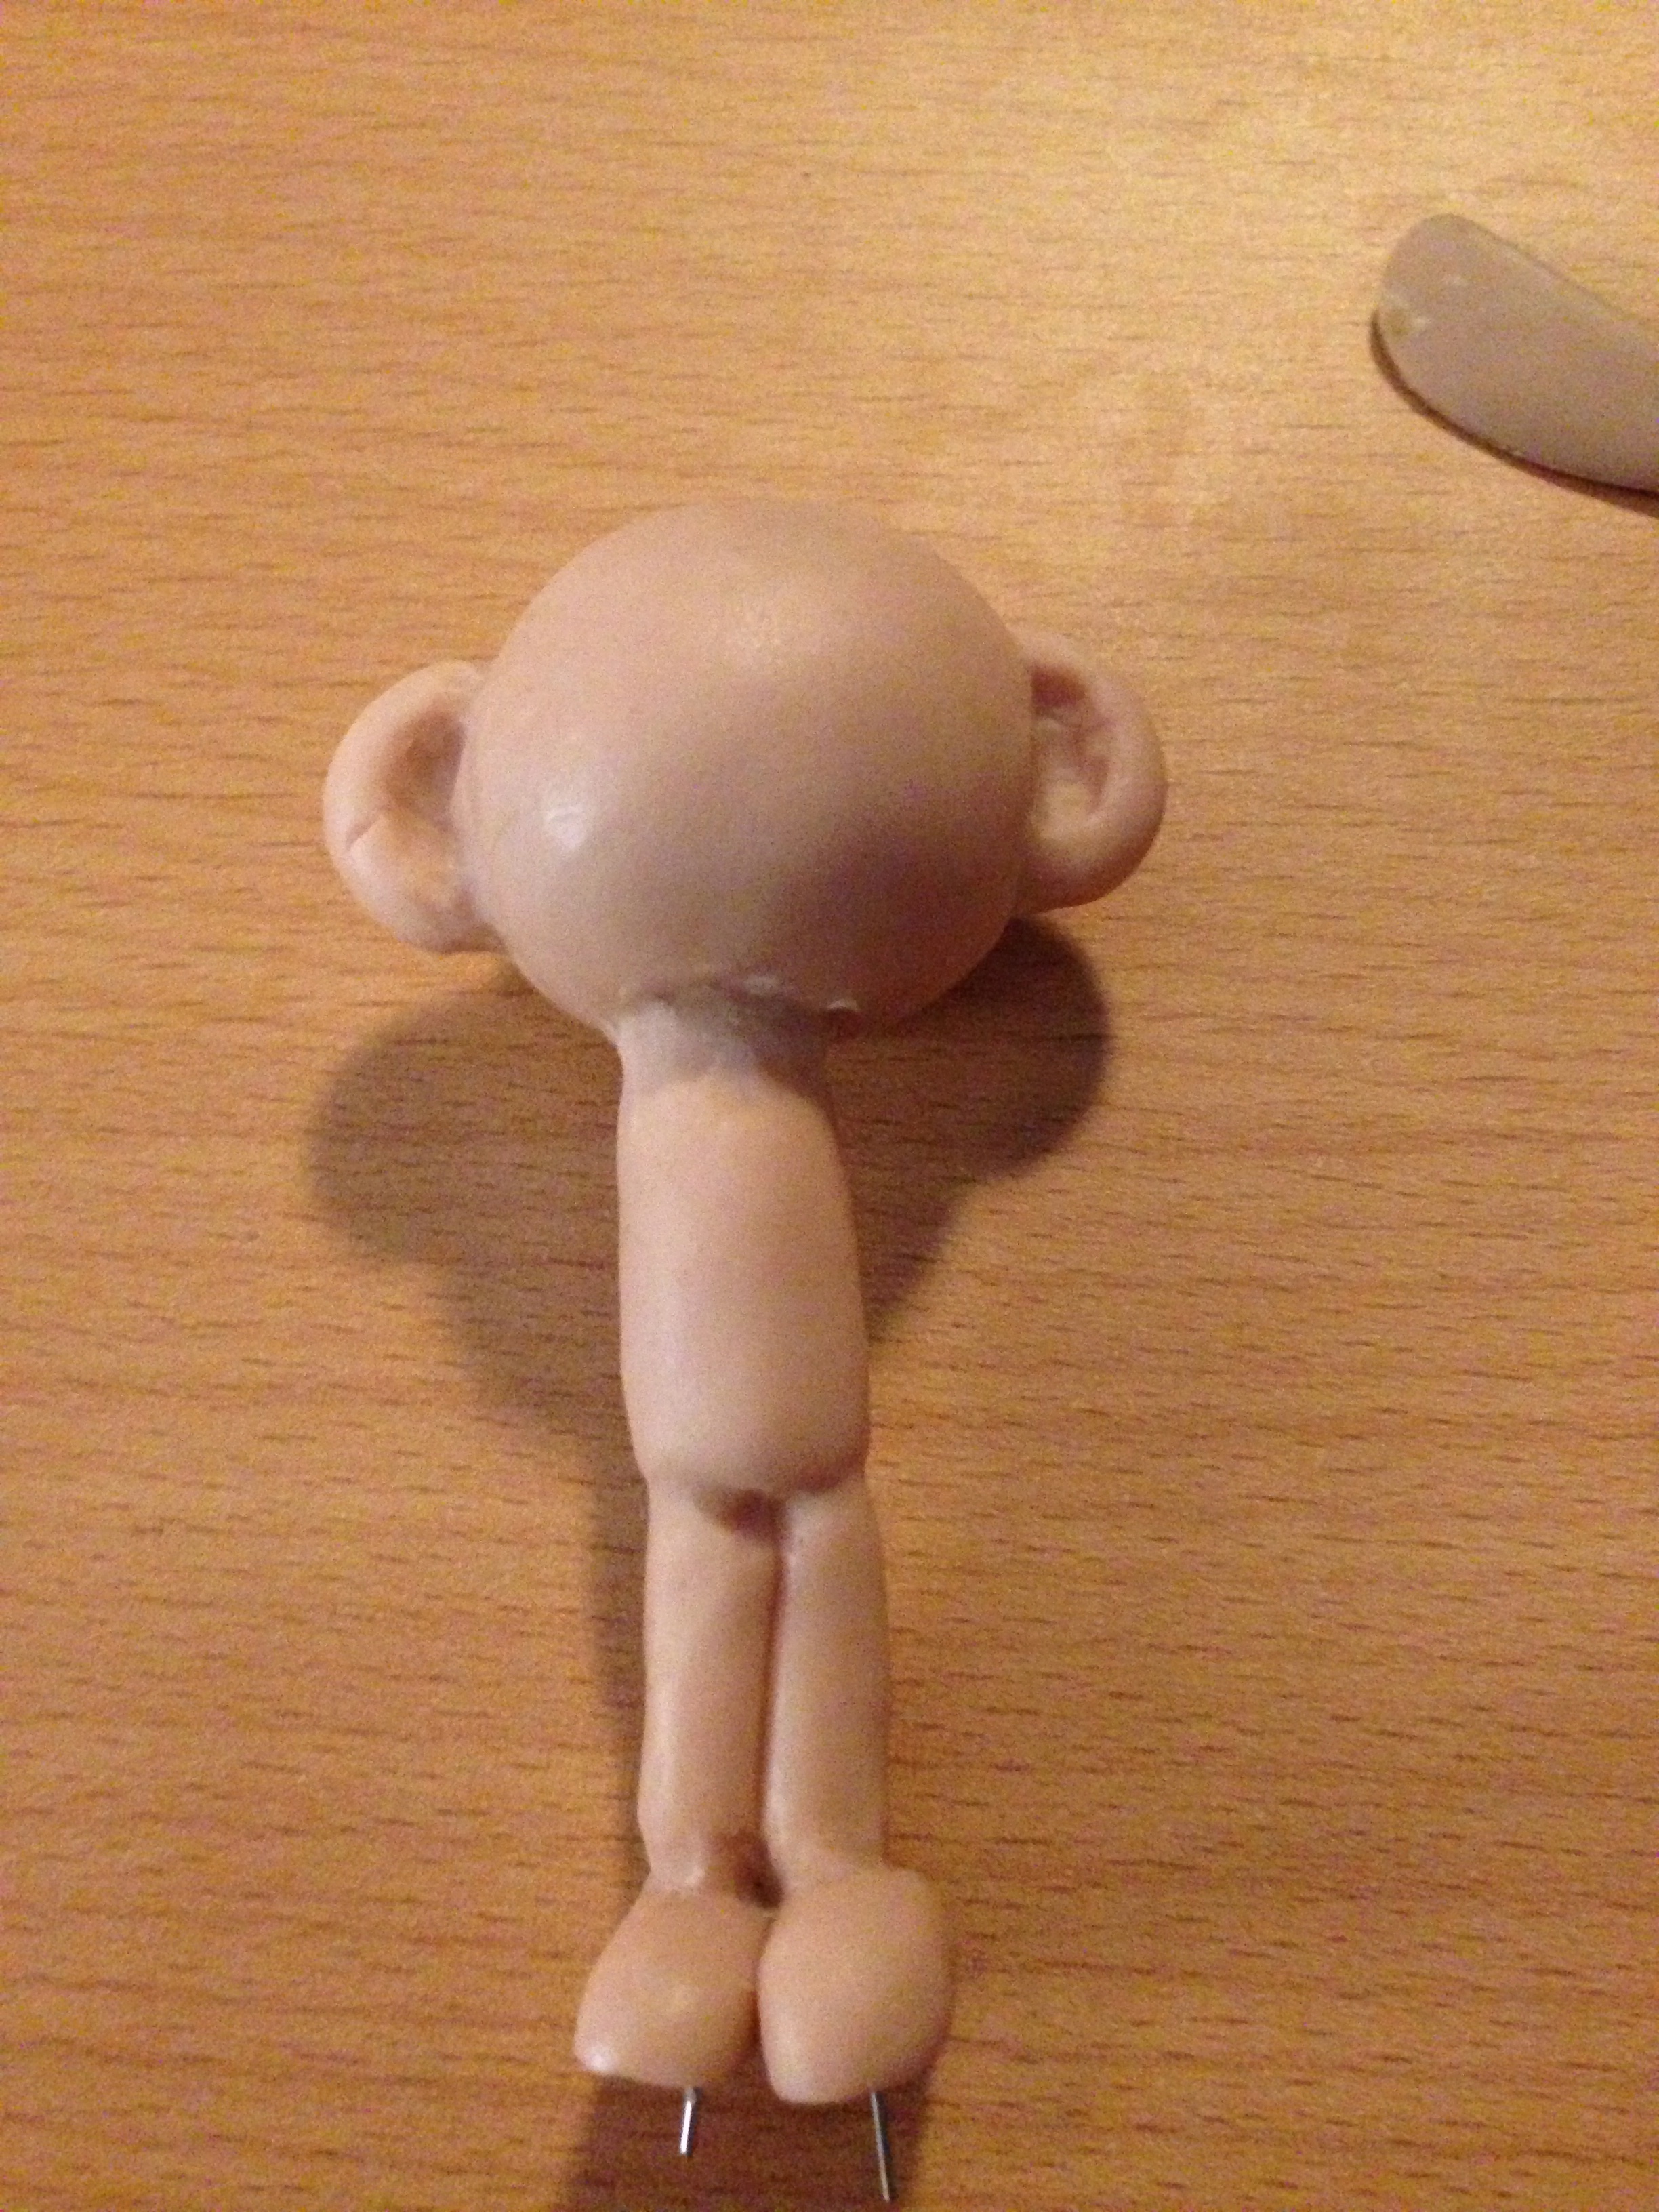
8) Skewer head on and smooth.
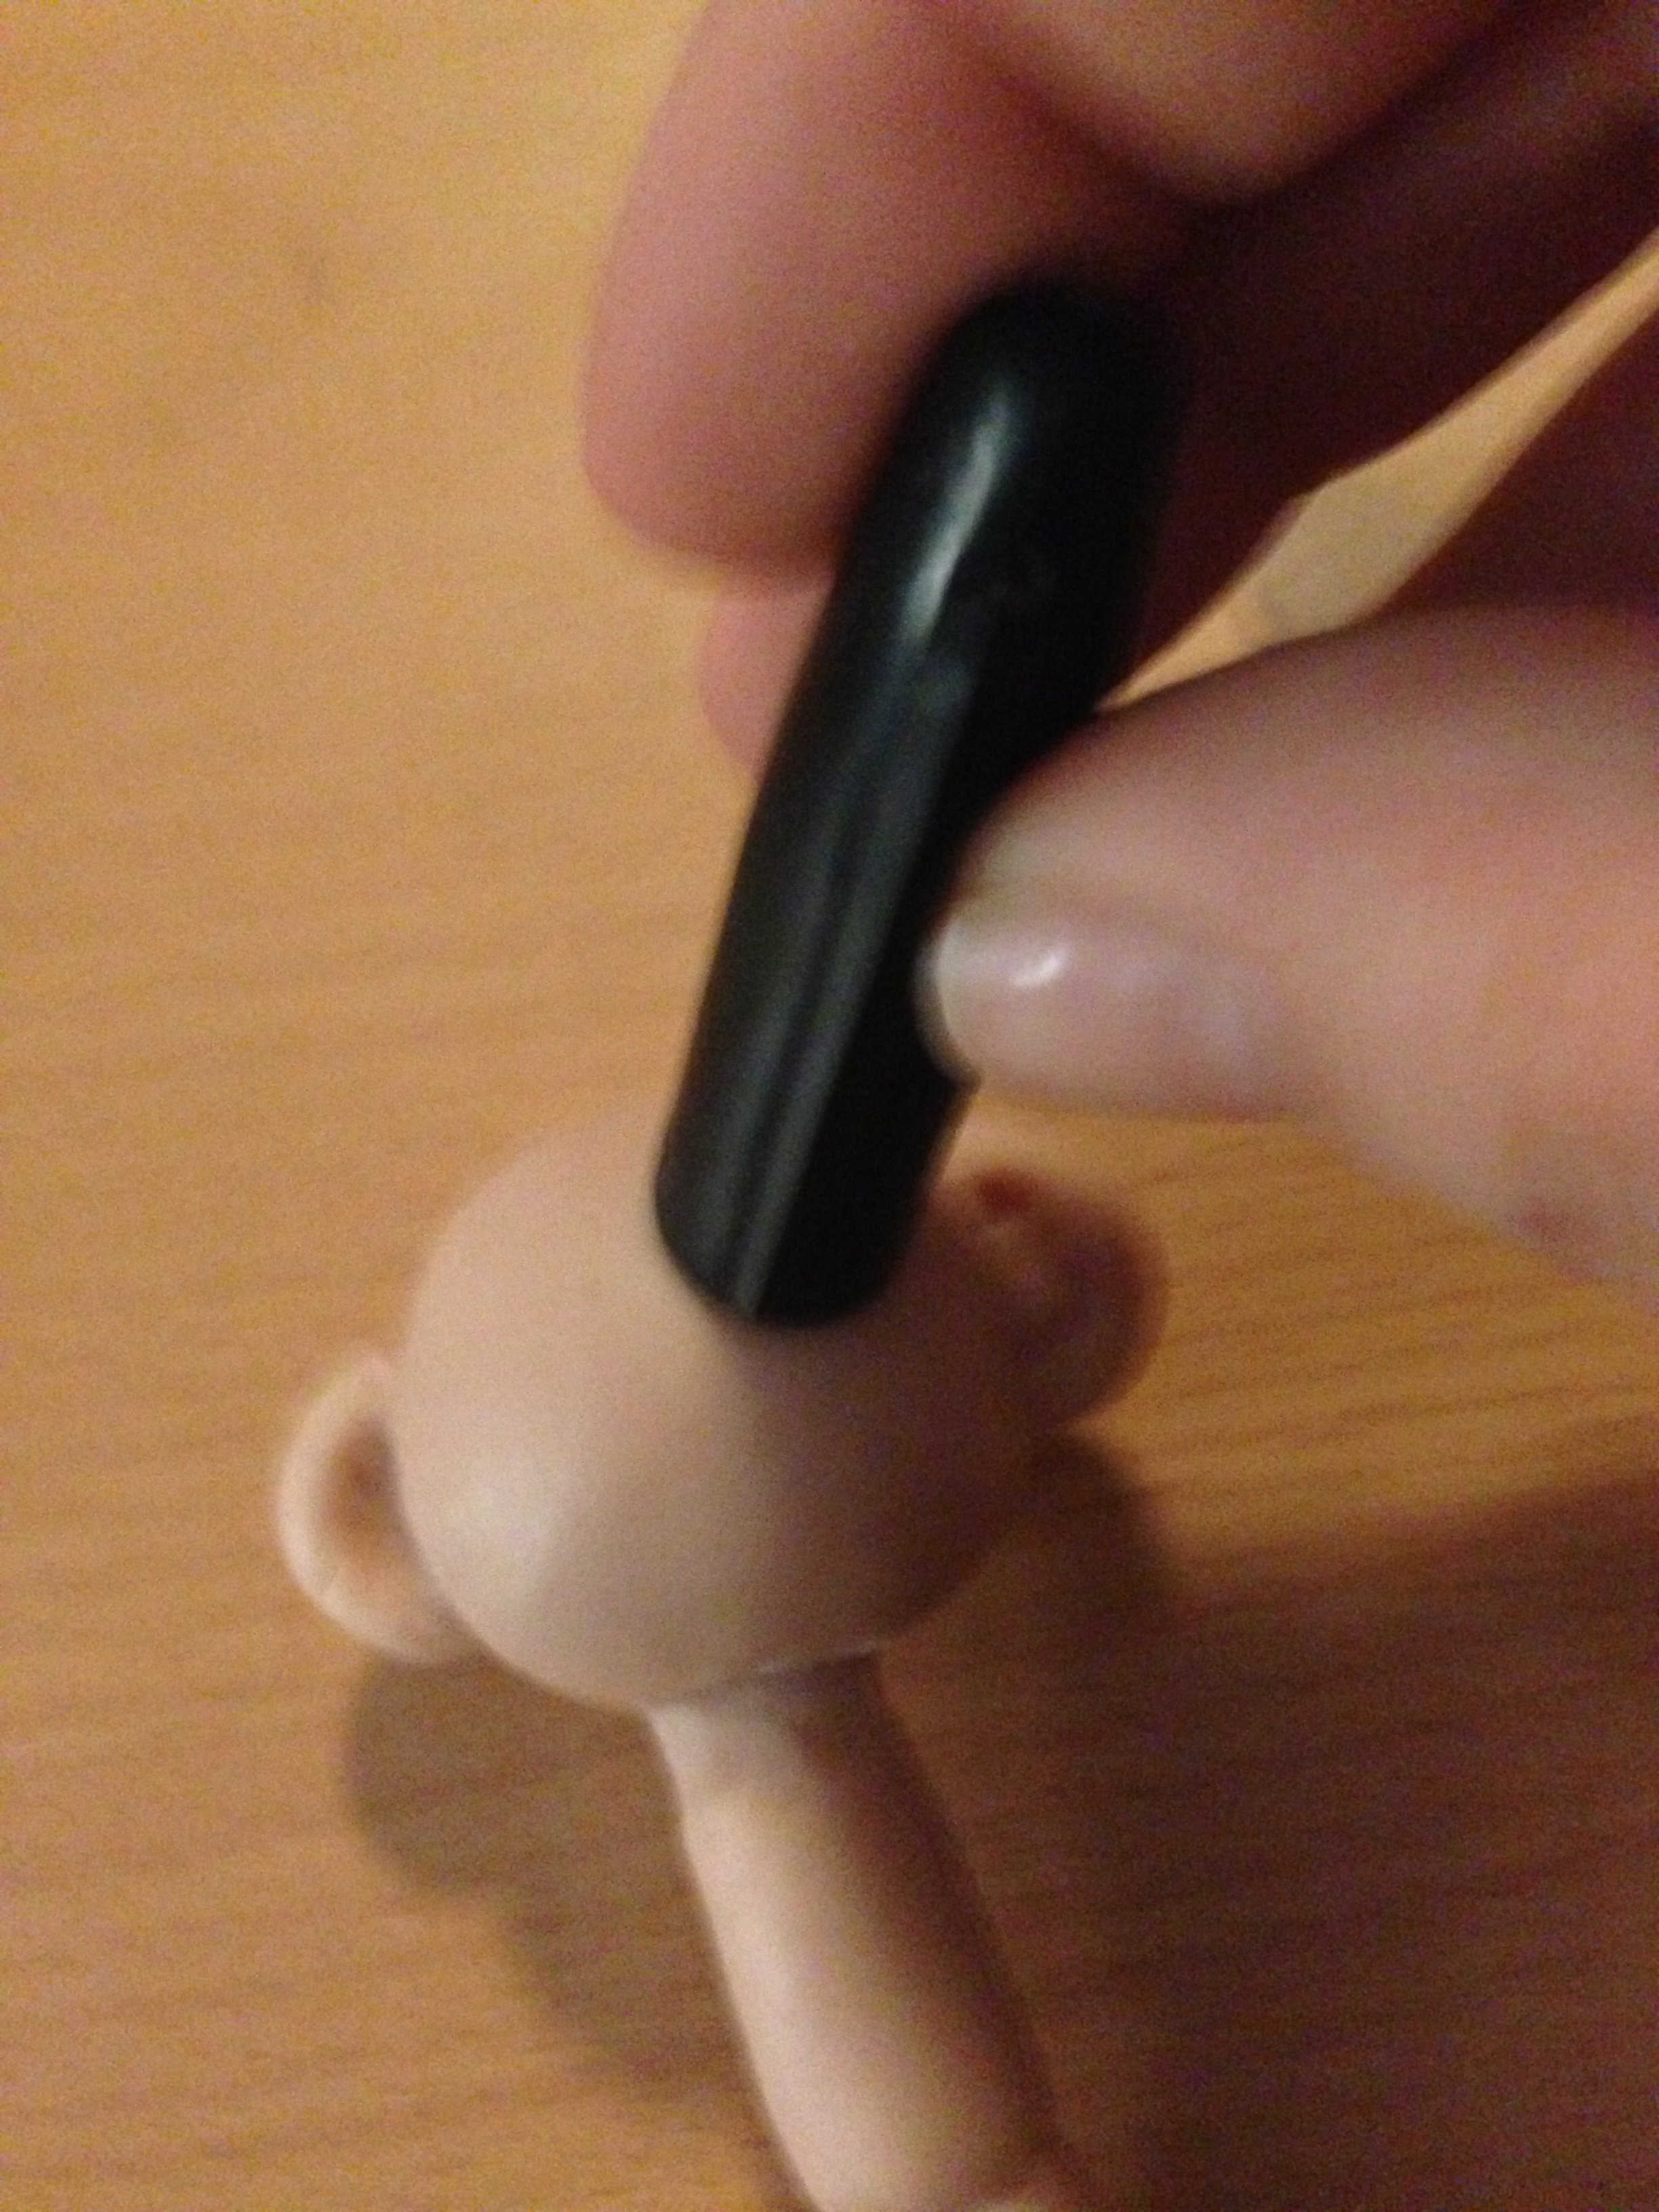
9) Use Sharpey cap to create eye indents. Eyes should be approx 1/2 cm apart.
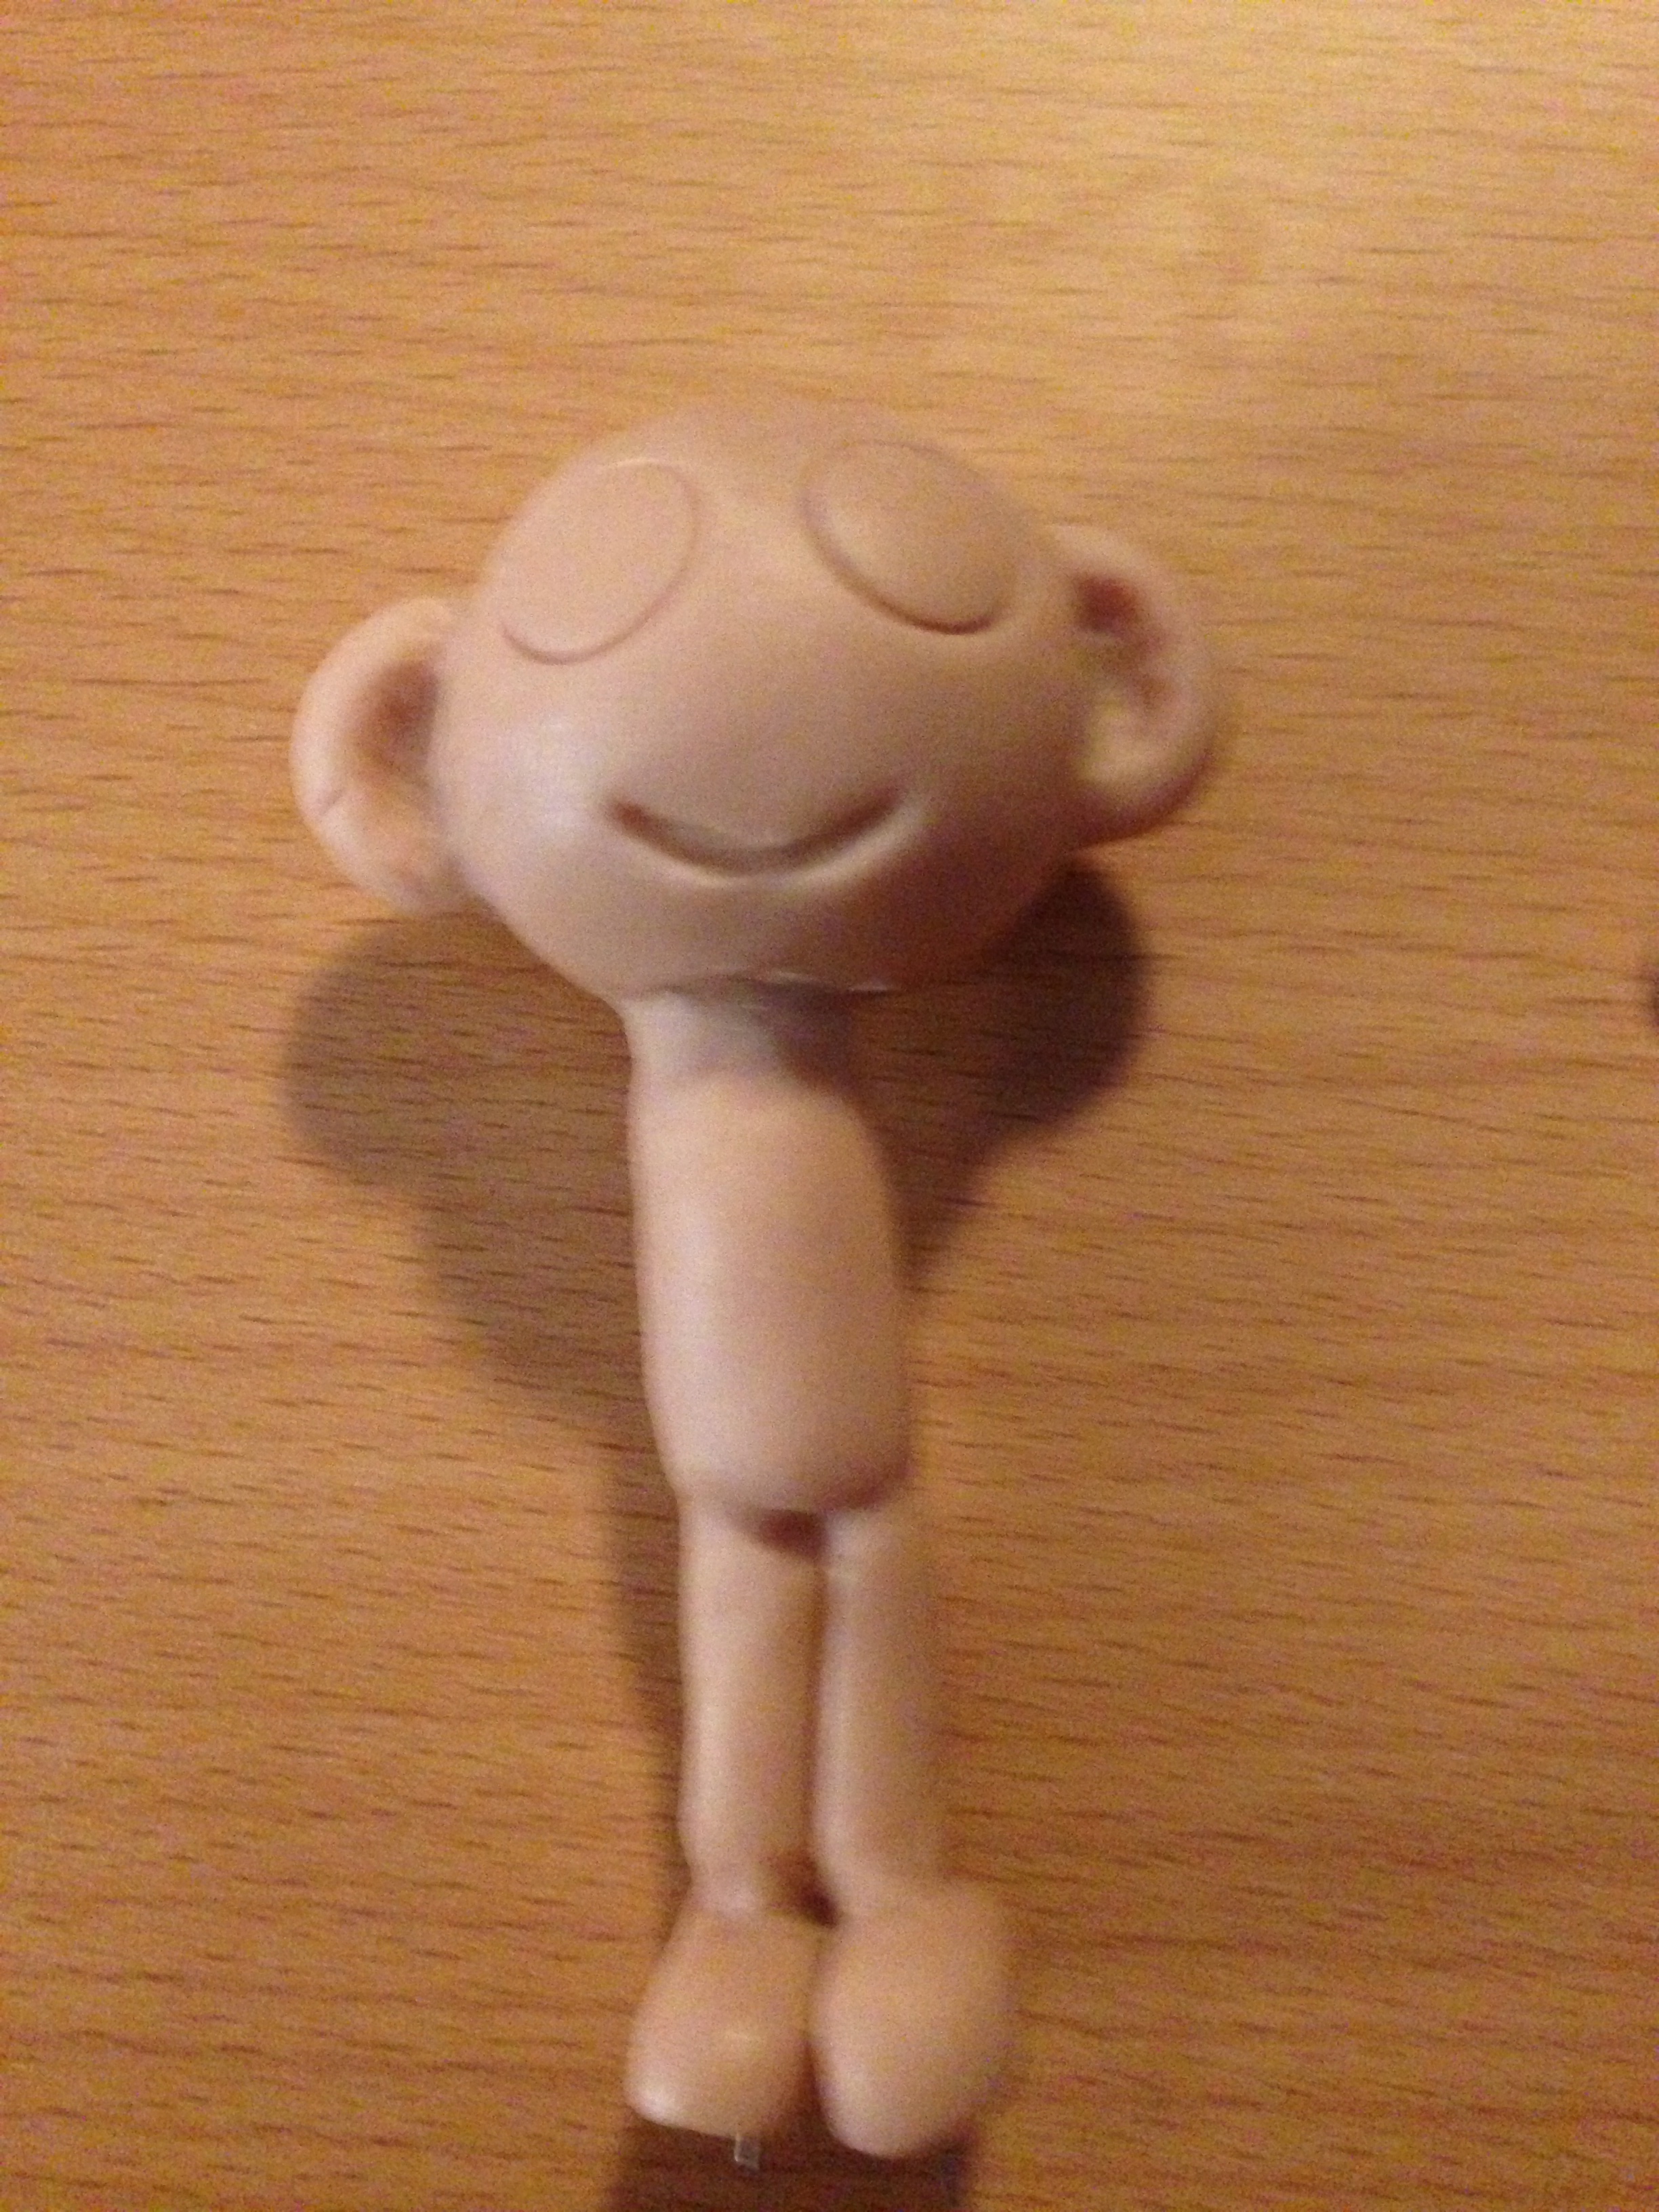
10) Use sculpting tool to make mouth
Your figure is now ready for embellishment. Flattened Sculpey (either run through a Sculpey Conditioning Machine, a pasta maker dedicated to sculpey or rolled with a rolling pin) is good for creating coats and hat brims. rolled “Snakes” or carving works for hair.
Once your figure is “dressed”, add arms.
Do not skewer figure onto base until just before you cure it in the oven. Sometimes, I cure the base separately (making holes for the wire first) and glue it on with viscous super glue (I prefer LocTite).
I suggest curing the figure laying down. Before it hardens, it won’t be able to hold its weight. Otherwise, the figure can end up with a lean on it. The problem goes away once its cured.
This tutorial works for male figures. If you want to create a more feminine figure, add sculpey to the hips and chest and remove some from the waist.
When the figure it cured, it can be painted with acrylic paints.